Sad Pumpkin Machine Embroidery Design - 2 Sizes
By knowing the speed of your embroidery machine, you can find out how long it will take to embroider a design.
To use the embroidery calculator, click on the number of stitches in the product description.
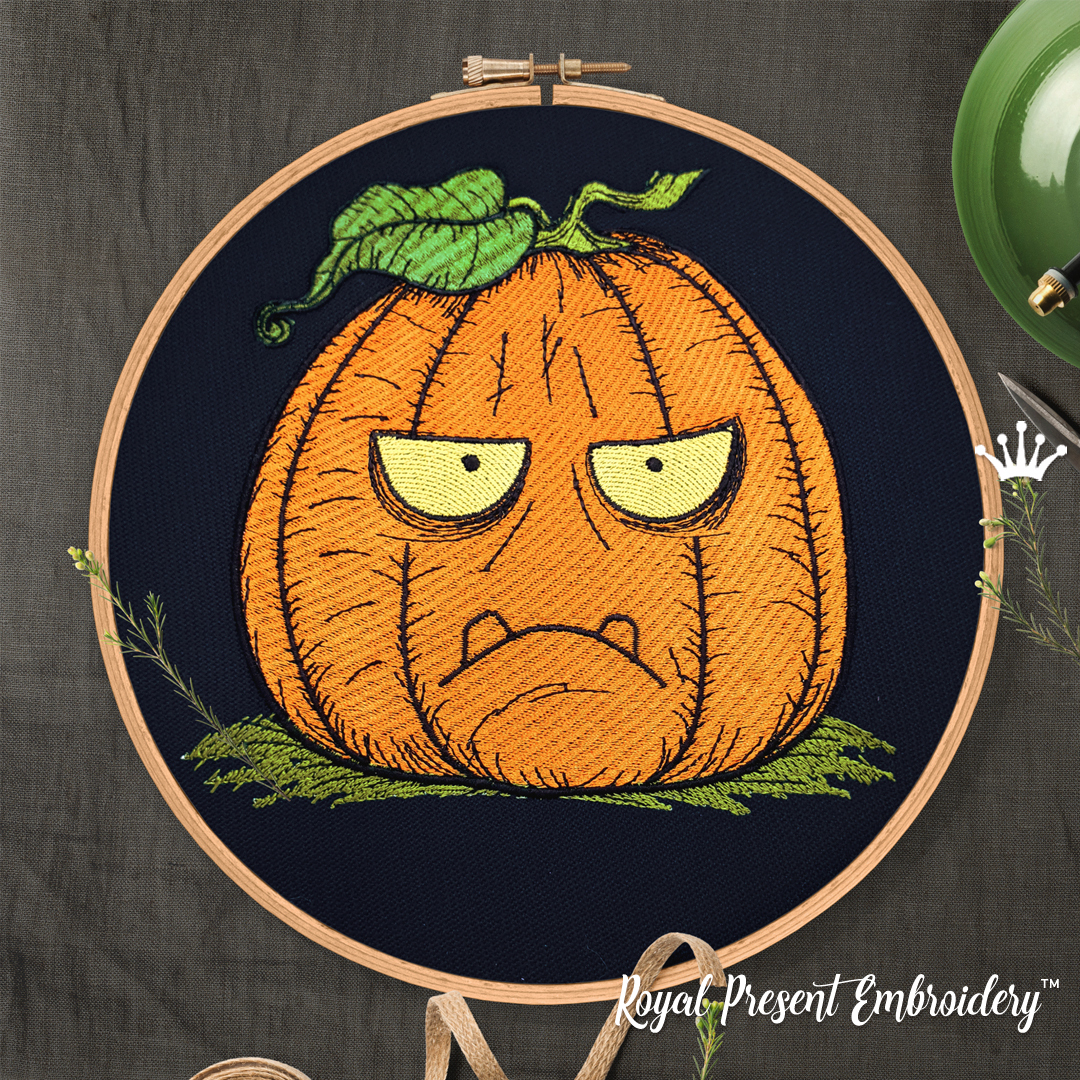
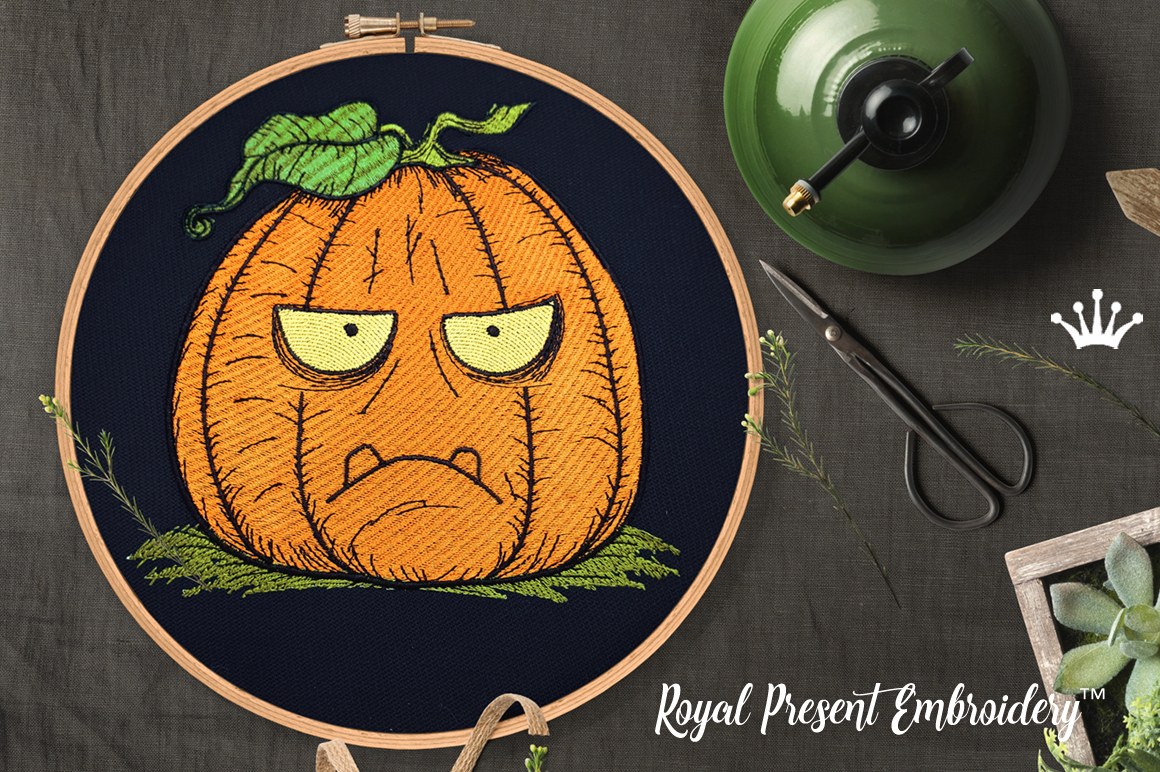
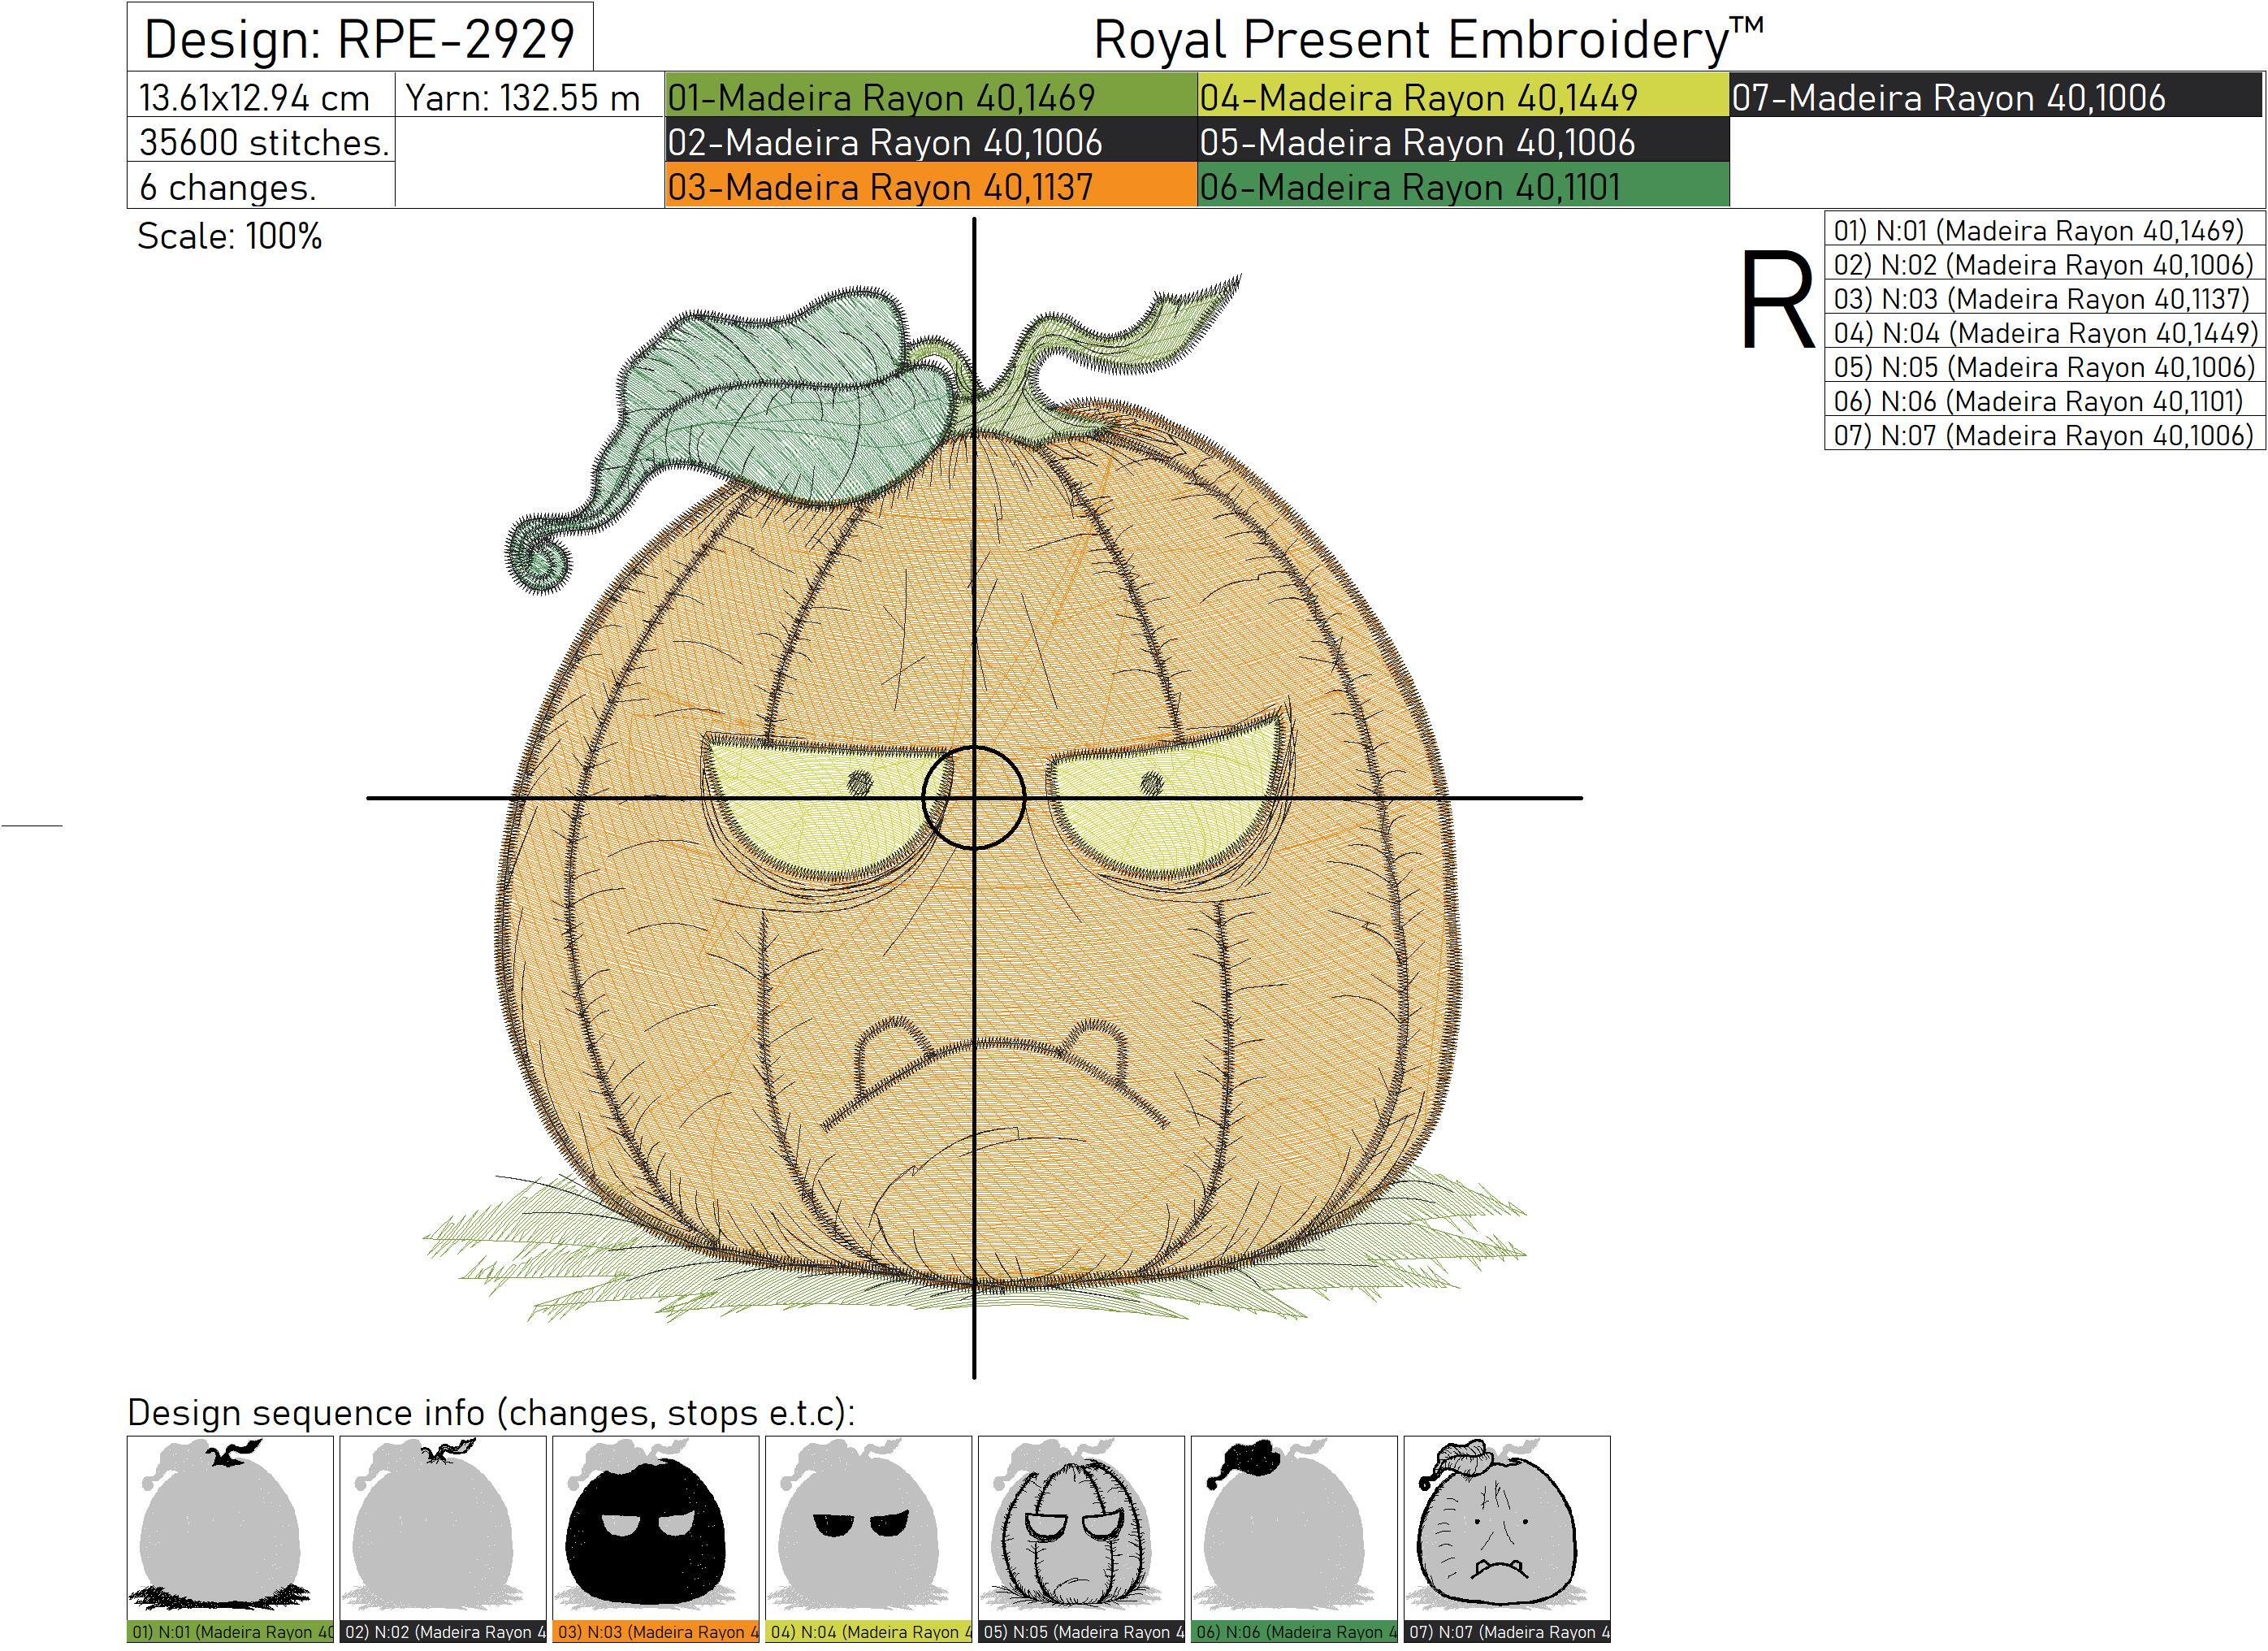
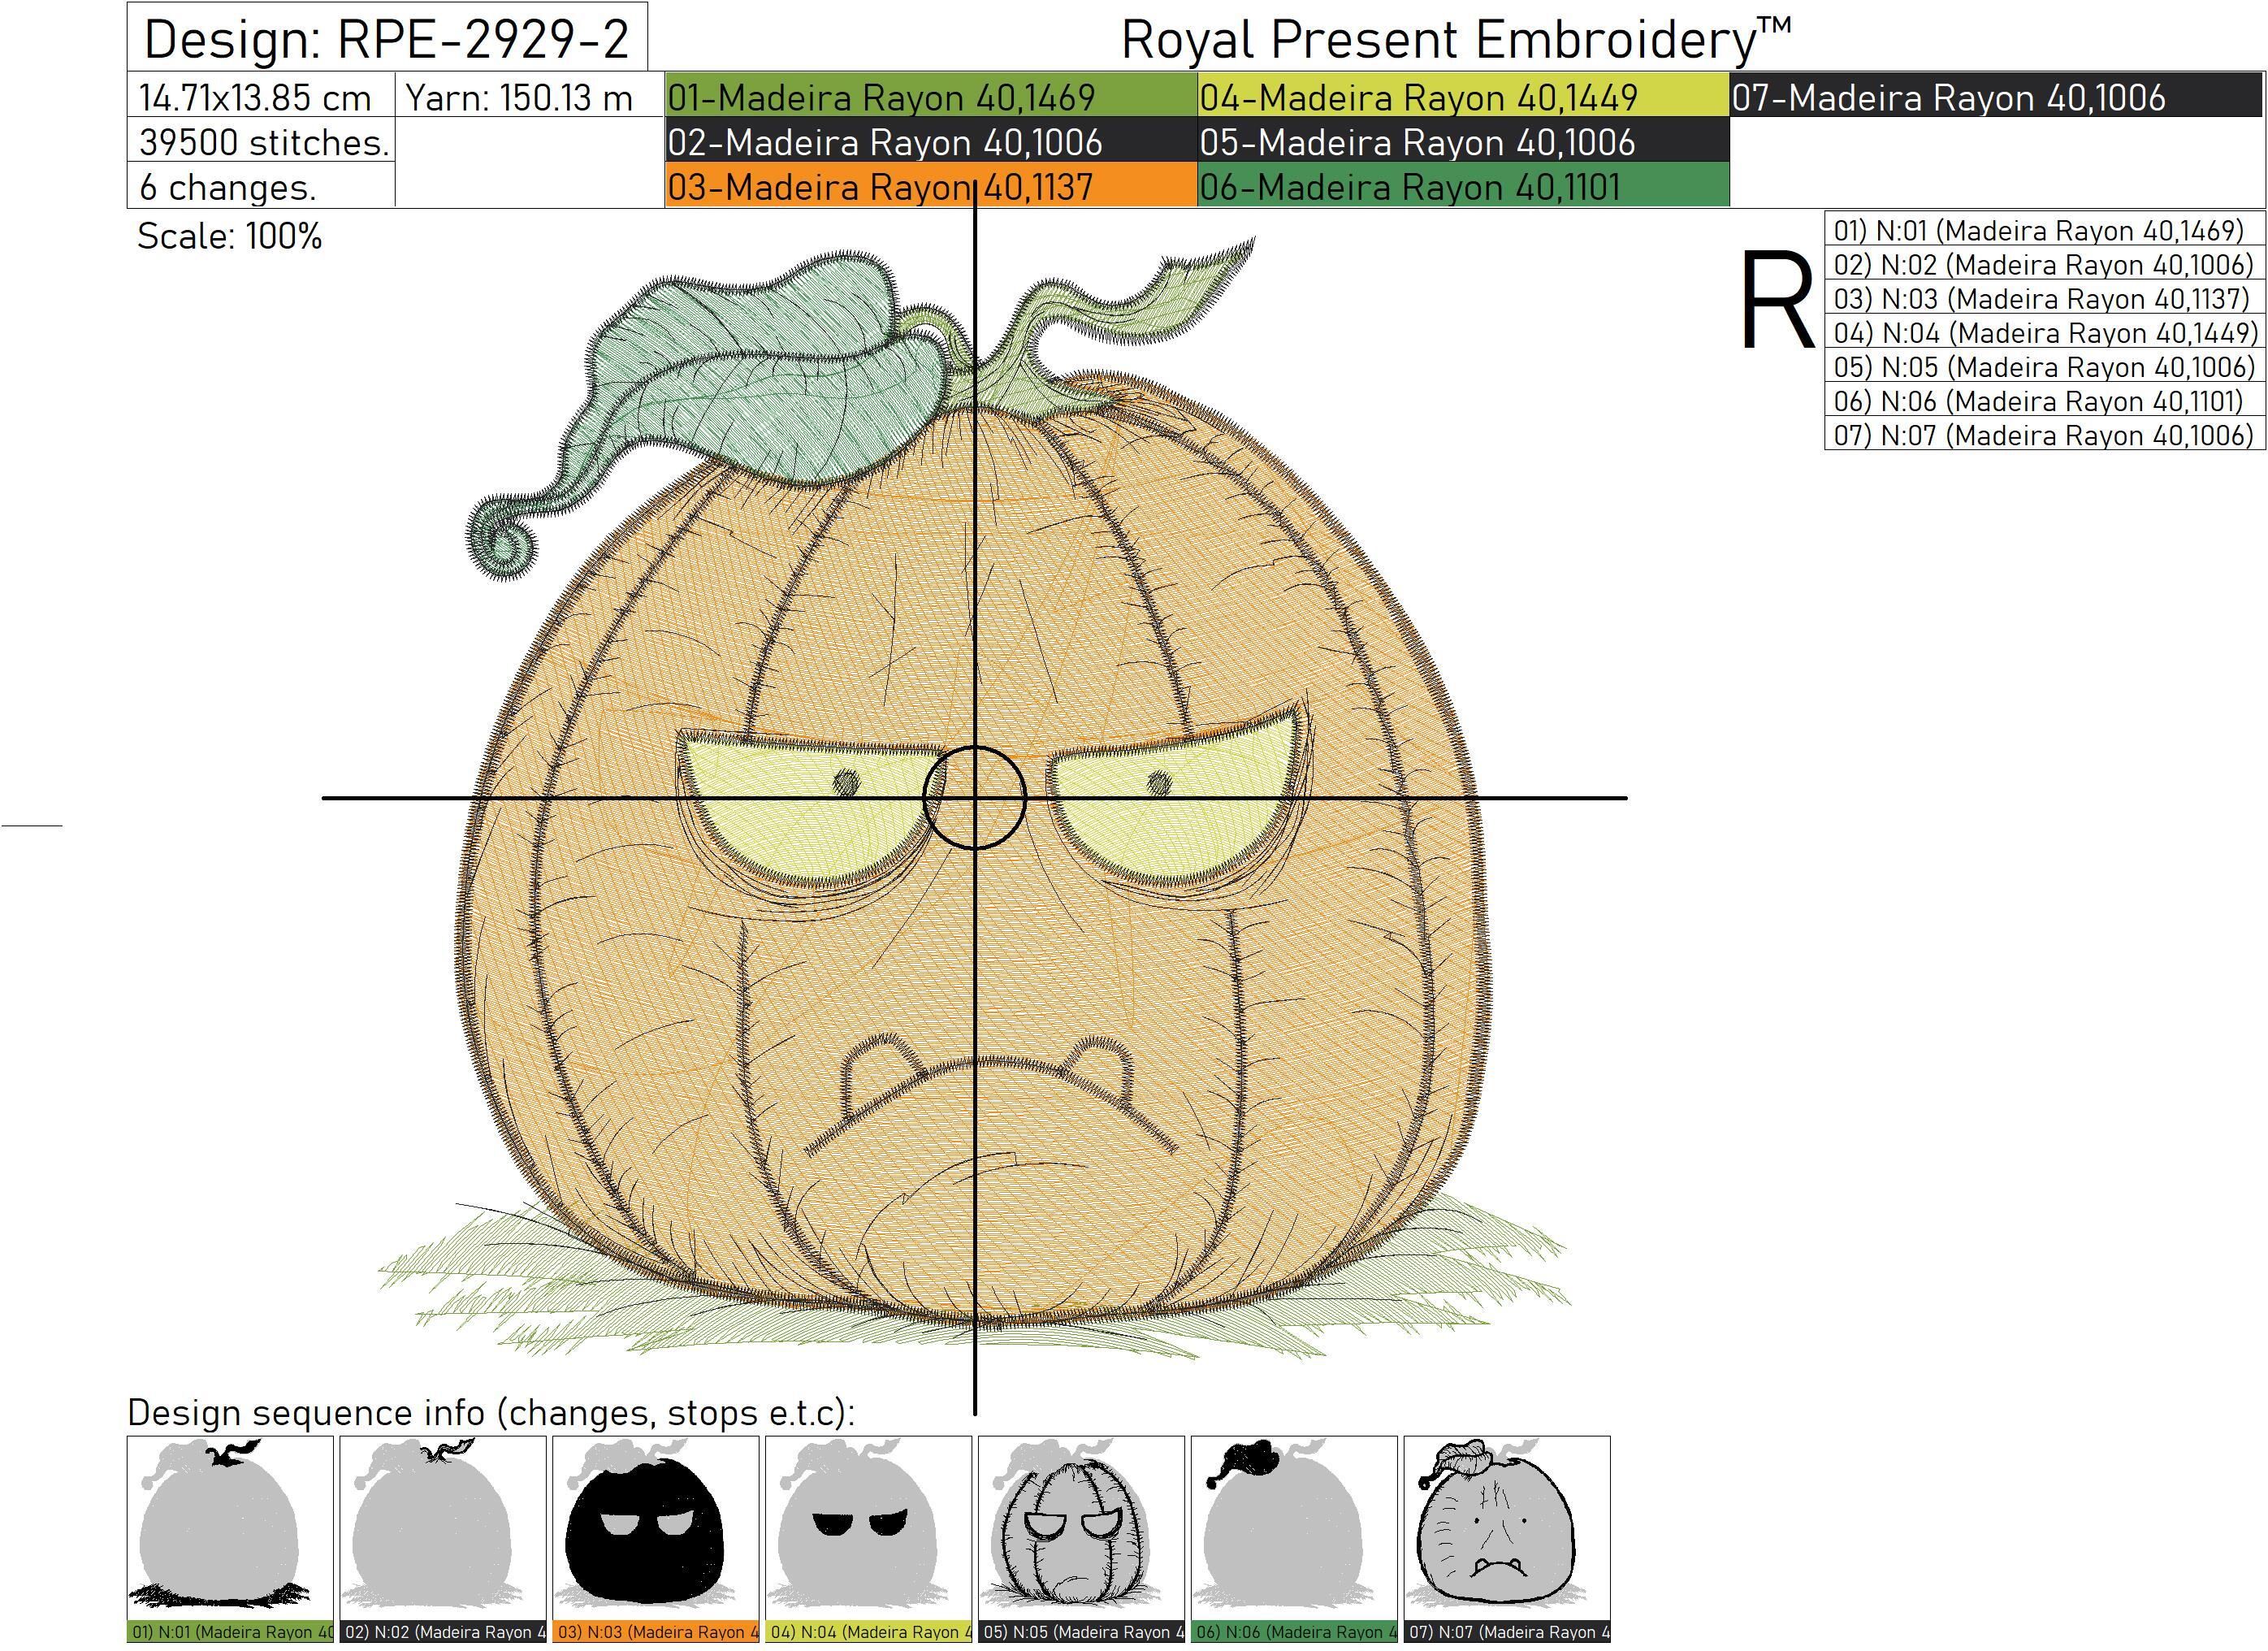
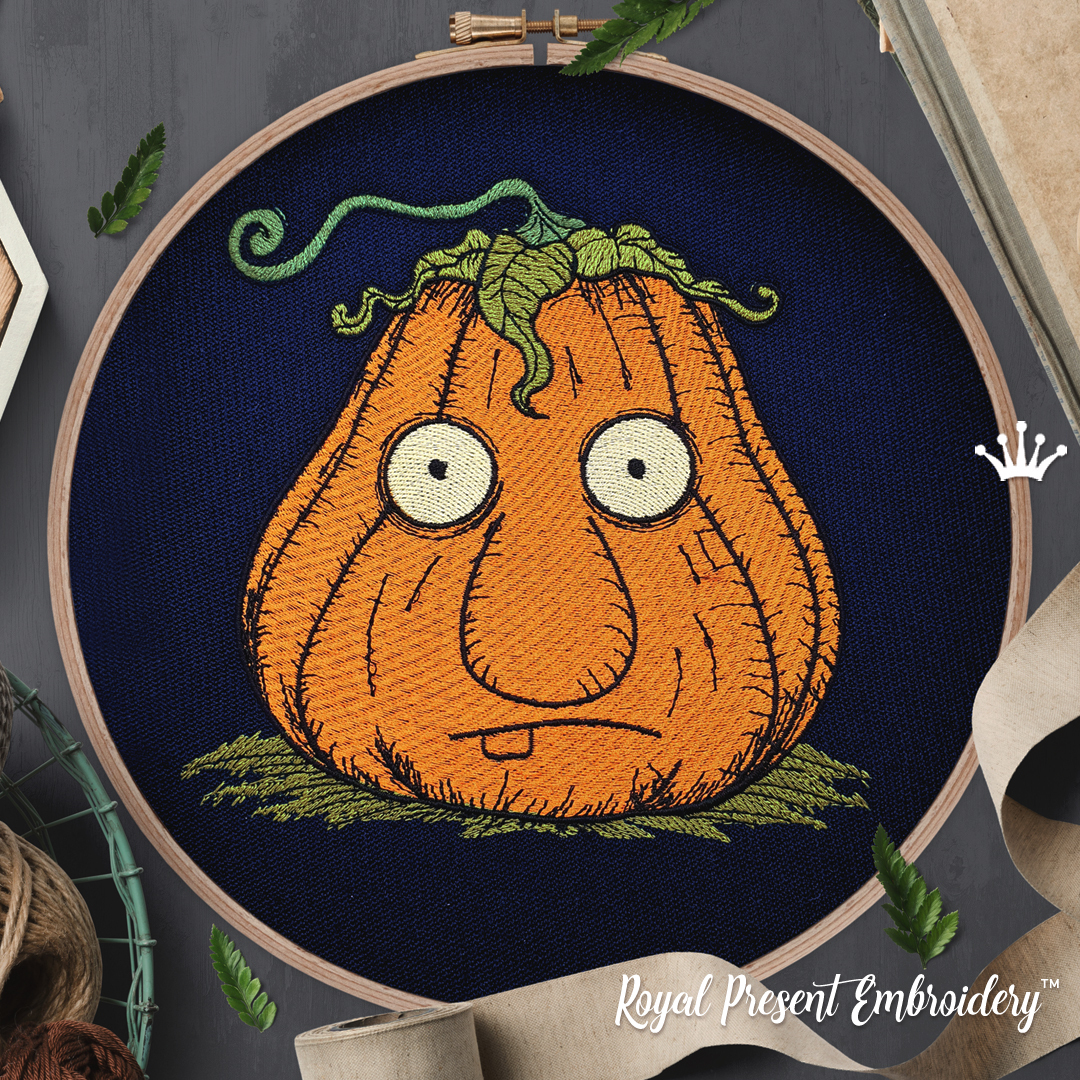
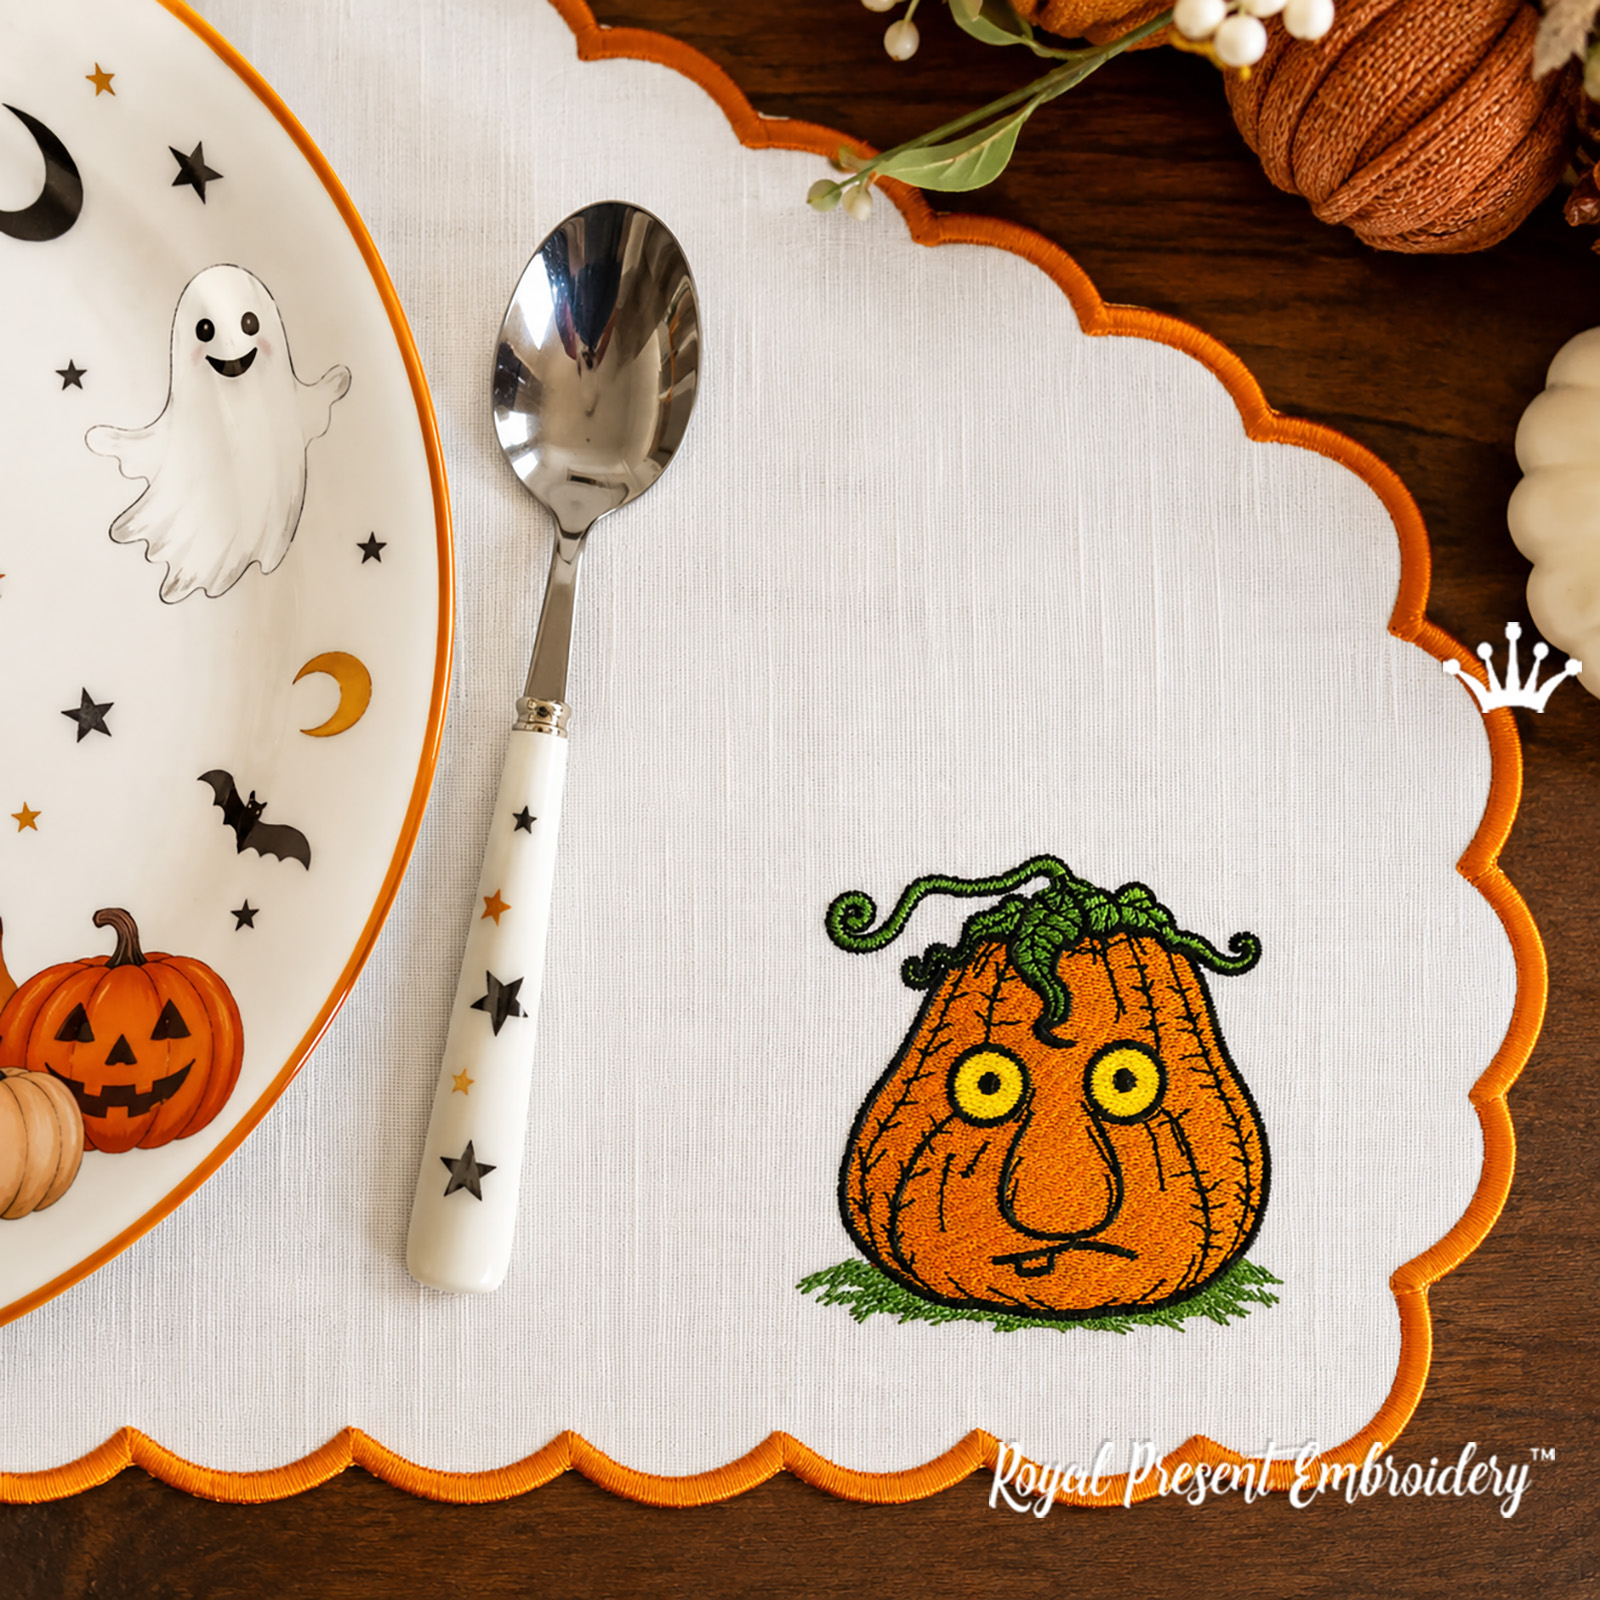
Sad Pumpkin is a downloadable machine embroidery design, not a finished item. It depicts a large orange pumpkin with lowered eyelids, a downturned mouth, dark sketch-style outlines and green plant details. The expressive face is easy to recognize in fall and Halloween embroidery projects.
Size: 136.1x129.4 mm (5.36x5.09"). Stitches: 32653
Size: 147.1x138.5 mm (5.79x5.45"). Stitches: 36111
Formats: .dst, .jef, .pec, .vip, .hus, .pes, .exp, .sew, .dat, .vp3, .xxx
After purchase, you will receive a ZIP archive containing files for an embroidery machine. The embroidered item, fabric, thread and stabilizer are not included. Unzip the archive before transferring a file to your machine, then select the correct format and size.
Minimum Hoop Sizes
For the 136.1x129.4 mm (5.36x5.09") file: use a 130x180 mm (5x7") hoop and rotate the design 90 degrees.
For the 147.1x138.5 mm (5.79x5.45") file: use a 140x200 mm (5.5x8") hoop and rotate the design 90 degrees.
Madeira Classic Color Chart
Five Madeira Classic 40 shades reproduce the shown palette. Screen swatches are approximate; select thread by the Madeira number and a physical manufacturer color chart.
| Color | Madeira Classic | Stitched Area | |
|---|---|---|---|
|
|
1169 | stem, leaves and grass | |
|
|
1021 | warm pumpkin shading | |
|
|
1006 | outline, pupils and facial details | |
|
|
1172 | main orange fill | |
|
|
1064 | eyes and light facial details |
Stabilizers for the Filled Design
This pumpkin has a large filled area and more than 32,000 stitches, so the backing must continue supporting the fabric after embroidery. For stable cotton, linen, gabardine and prewashed flannel, start with one layer of OESD Heavy Weight CutAway, 2.5 oz/yd² (approximately 85 gsm) or Madeira Super Strong Cut Away.
For T-shirts, sweatshirt fleece and other stretchy fabrics, fuse one layer of Sulky Soft ’n Sheer Extra, 1.5 oz/yd² (approximately 51 gsm) to the wrong side without stretching the fabric. If the full test stitch-out still moves or puckers, add a second non-fusible cut-away layer. OESD Heavy Weight CutAway is the firmer choice for heavy knits and stitch-intensive projects.
On terry cloth, fleece or another high-pile surface, place a thin water-soluble topping above the fabric. Suitable worldwide options include OESD AquaFilm WashAway Topping, Madeira Avalon Film and Sulky Solvy. Topping keeps the facial lines above the pile but does not replace the cut-away backing underneath.
Begin the test stitch-out with quality 40 wt machine embroidery thread and a new 75/11 or 80/12 embroidery needle. After stitching, trim the cut-away backing approximately 5–8 mm (0.20–0.31") from the design. Confirm the final stabilizer and needle combination on the same fabric before embroidering the finished item.
How to Prevent Outline Misregistration
- Hoop the fabric and stabilizer together without stretching or distorting them.
- Use a basting box if your embroidery machine or software provides one.
- Do not pull or readjust the fabric after the hoop has been tightened.
- If the dark outline shifts away from the fill, reinforce the backing before changing thread tension.
- Run the complete design on matching test fabric before embroidering the finished item.
How to choose a stabilizer for machine embroidery
How to choose the right machine embroidery needle
Color Tip
For a softer fall palette, replace the bright orange fill with honey, rust or muted terracotta. For Halloween, the eye color may be replaced with glow-in-the-dark embroidery thread while the dark outline remains unchanged. Test specialty thread first and use the needle recommended by its manufacturer.
More Pumpkins with Expressive Faces
|
|
|
|
Technical Questions
Can I reduce this pumpkin to fit a 100x100 mm (4x4") hoop?
No. The 136.1x129.4 mm (5.36x5.09") file would require a reduction far beyond 10%. Simply scaling a PES, DST, JEF or another stitch file does not correctly rebuild the embroidery structure: stitches become crowded, fill density increases and small facial details can be lost. Use one of the two prepared sizes or choose one of the small pumpkin designs above.
Why does the upper thread keep breaking in the filled area?
Rethread the upper path with the presser foot raised, confirm that the spool and spool cap are installed correctly, and replace a bent or worn needle. Check that the thread moves freely through every guide and that the upper tension is not excessive. If breaks occur in different places, clean lint from the bobbin area and reduce the machine speed. If a break always occurs at the same stitch on stable test fabric, record the stitch number and contact support.
Why is bobbin thread showing on the front?
The upper tension may be too tight, or the bobbin may not be seated correctly. Rethread both paths according to the machine manual, clean the hook area and confirm that the bobbin thread is under the tension spring. Test again before adjusting the bobbin-case screw.
Why does the finished embroidery feel too stiff?
A large filled design naturally adds body, but unnecessary heavy backing layers increase stiffness. On stable fabric, begin with one suitable cut-away layer and add another only if the complete test shows movement or puckering. After stitching, trim the excess backing 5–8 mm (0.20–0.31") from the design instead of cutting directly against the stitches.

 Get Sign-In Link
 Login with Google
 Login with Facebook
 Login with Amazon
 Login with Paypal