Pumpkin with polka dots machine embroidery design - 4 sizes
By knowing the speed of your embroidery machine, you can find out how long it will take to embroider a design.
To use the embroidery calculator, click on the number of stitches in the product description.
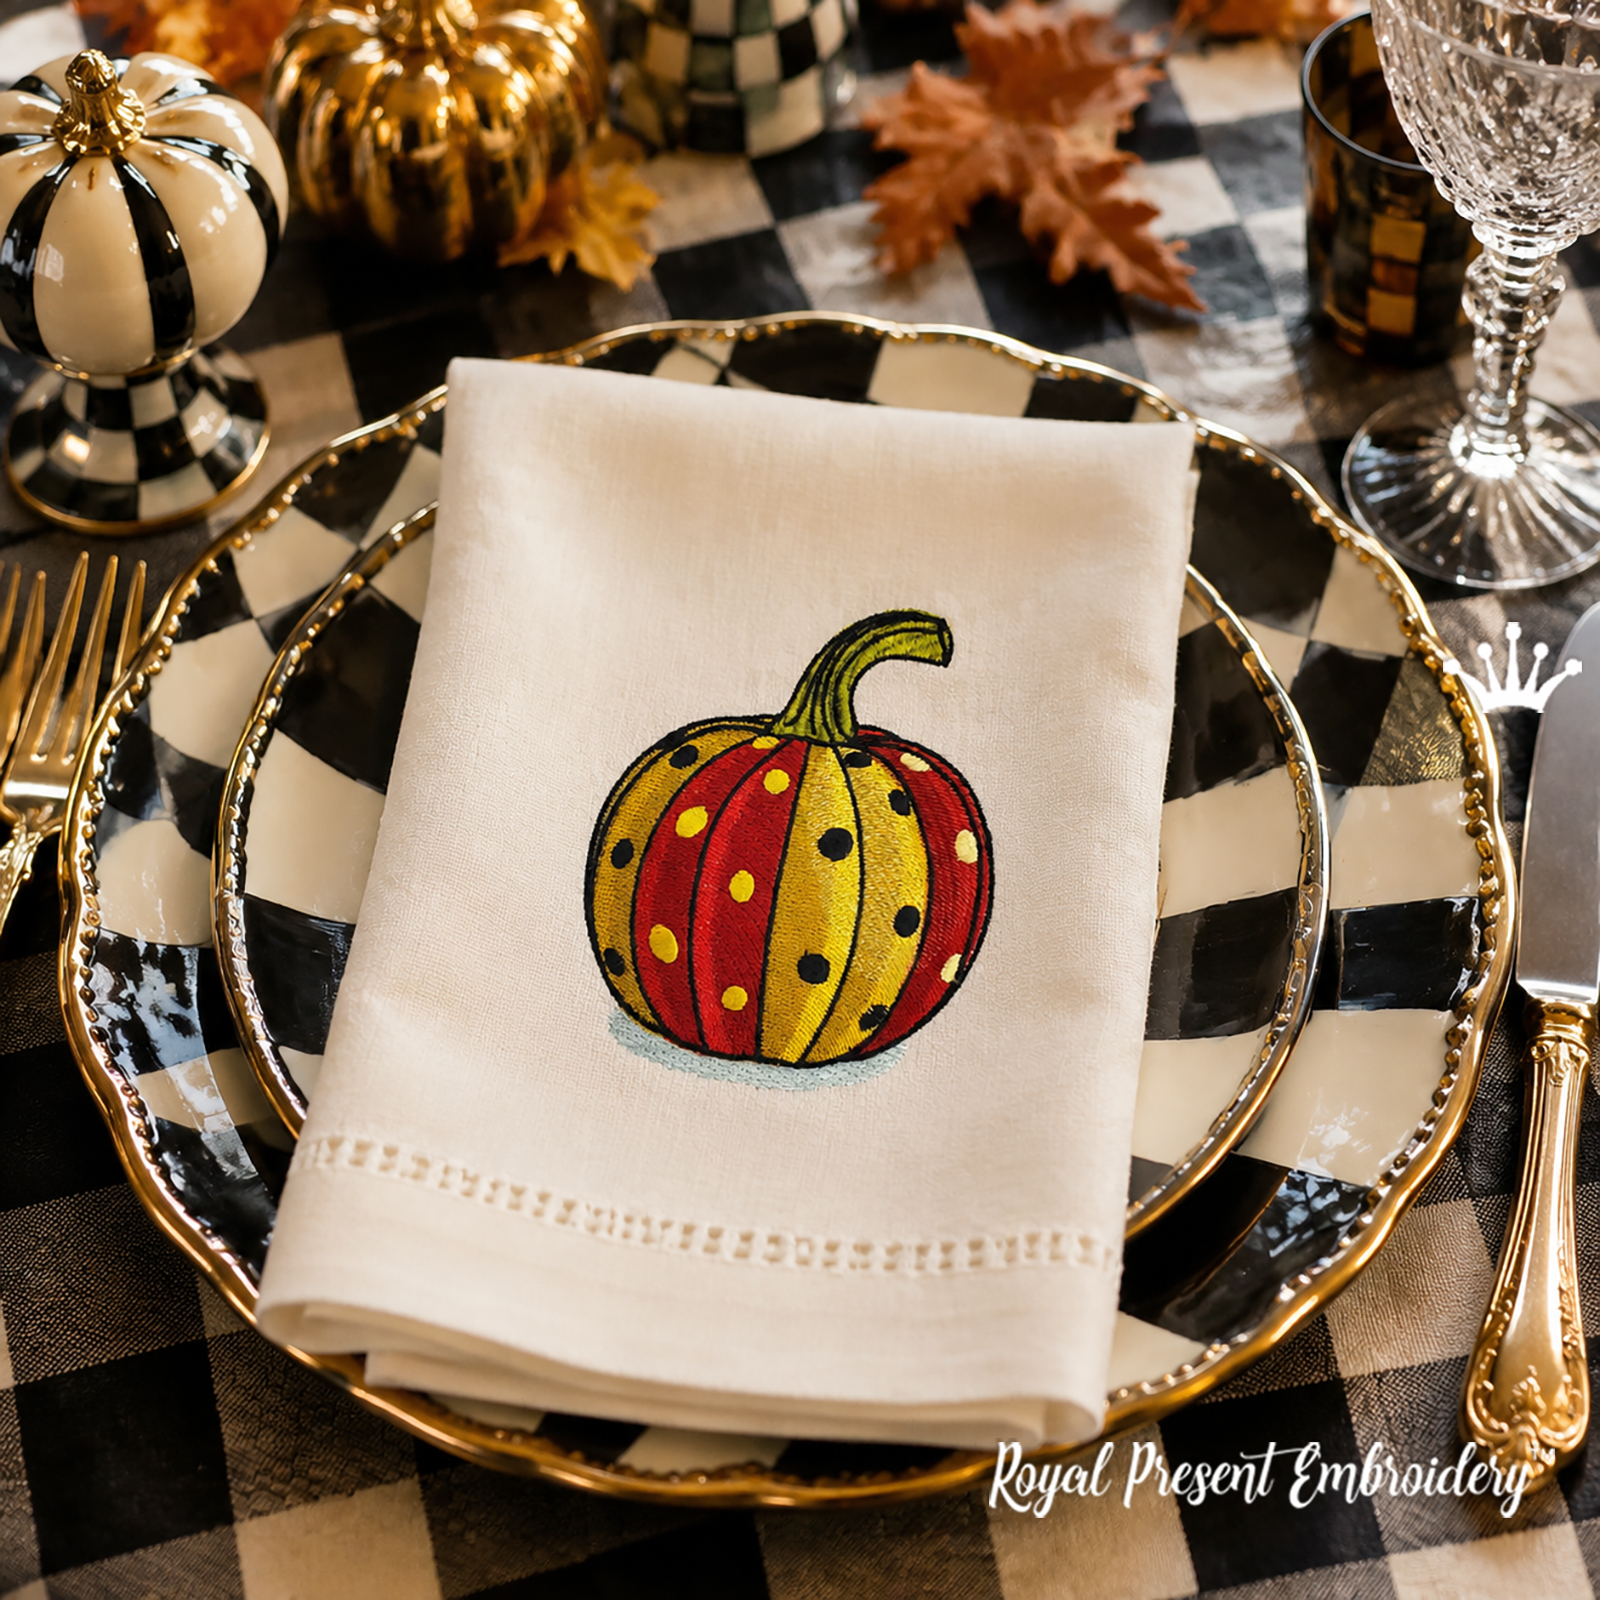
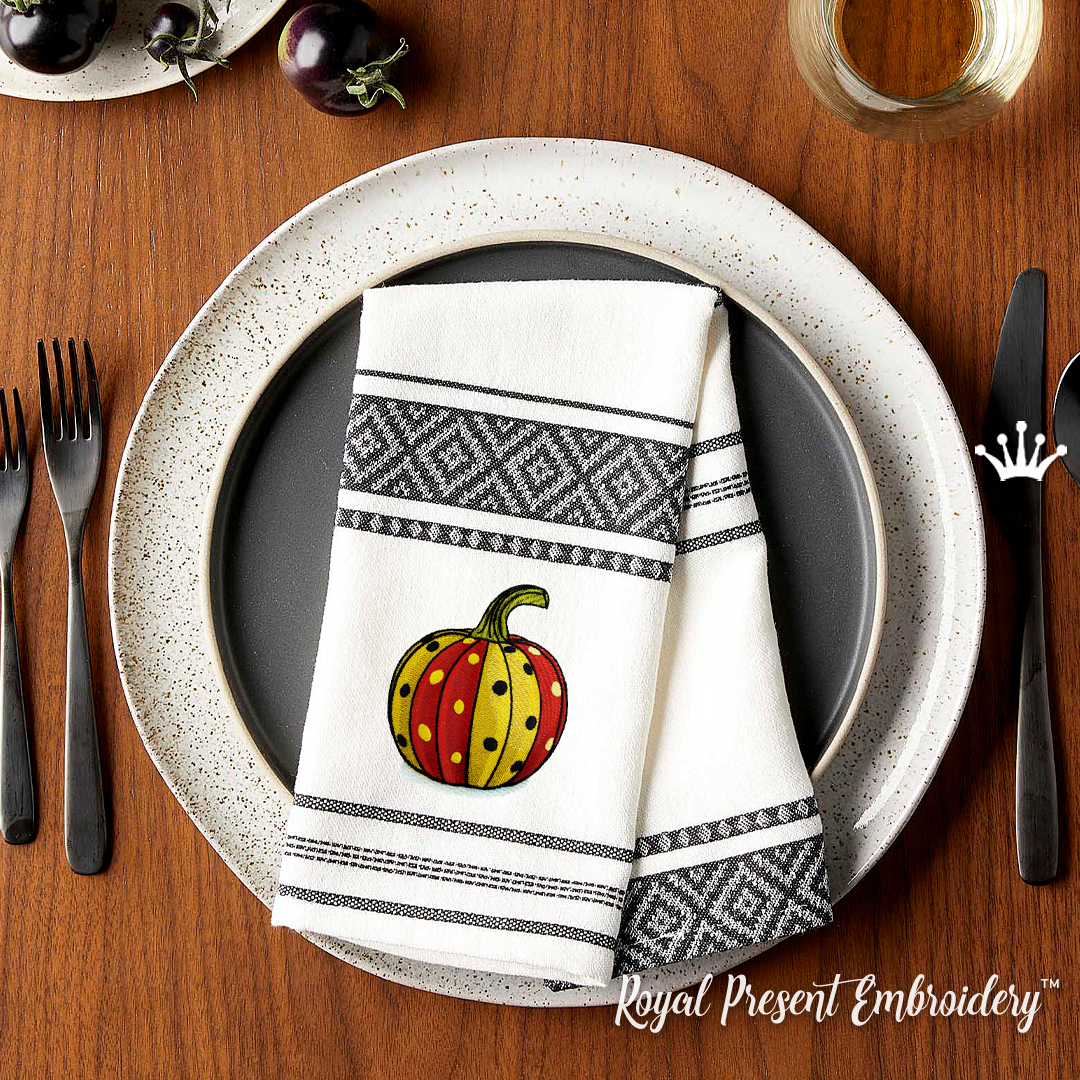
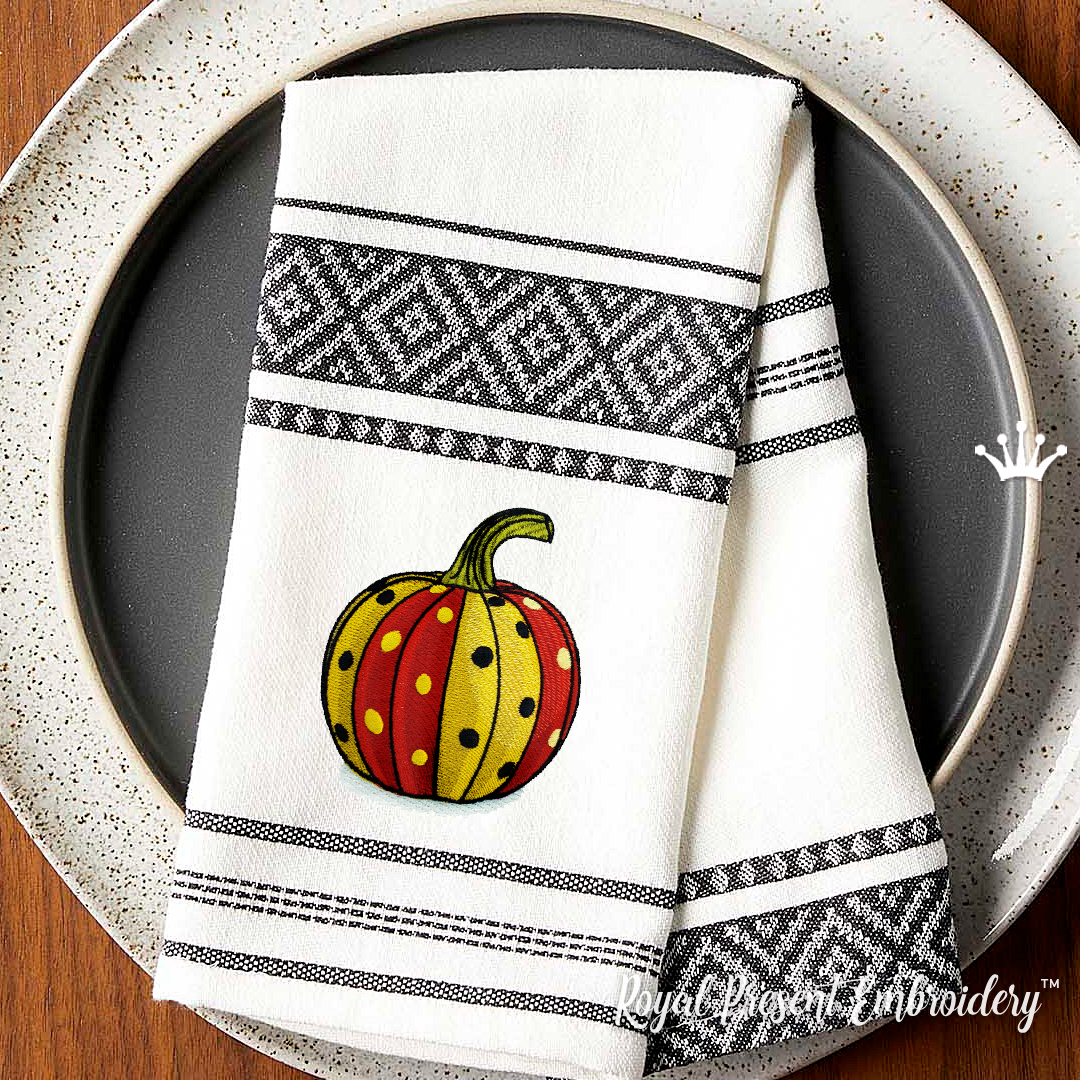
Pumpkin with Polka Dots is a downloadable digital machine embroidery design, not a finished embroidered item. The motif shows a rounded autumn pumpkin divided into alternating golden-yellow and red sections, decorated with contrasting dots, dark outlines, an olive-green stem and a soft gray ground shadow. Its clean geometric pattern works for fall, harvest, Halloween and Thanksgiving themes.
Size: 78.5x98.4 mm (3.09x3.87"). Stitches: 18311
Size: 86.3x108.2 mm (3.40x4.26"). Stitches: 21460
Size: 95.0x119.1 mm (3.74x4.69"). Stitches: 24855
Size: 102.2x128.2 mm (4.02x5.05"). Stitches: 27801
Formats: .dst, .jef, .pec, .vip, .hus, .pes, .sew, .exp, .dat, .vp3, .xxx
The download contains four separately digitized embroidery files in every format listed above. No fabric, thread, patch or finished product is shipped. Select the file that fits your machine's embroidery field and transfer that file to the machine without resizing it.
Minimum Hoop Sizes
78.5x98.4 mm (3.09x3.87") file: 100x100 mm (4x4 in) hoop
86.3x108.2 mm (3.40x4.26") file: 130x180 mm (5x7 in) hoop
95.0x119.1 mm (3.74x4.69") file: 130x180 mm (5x7 in) hoop
102.2x128.2 mm (4.02x5.05") file: 130x180 mm (5x7 in) hoop
Madeira Classic Color Chart
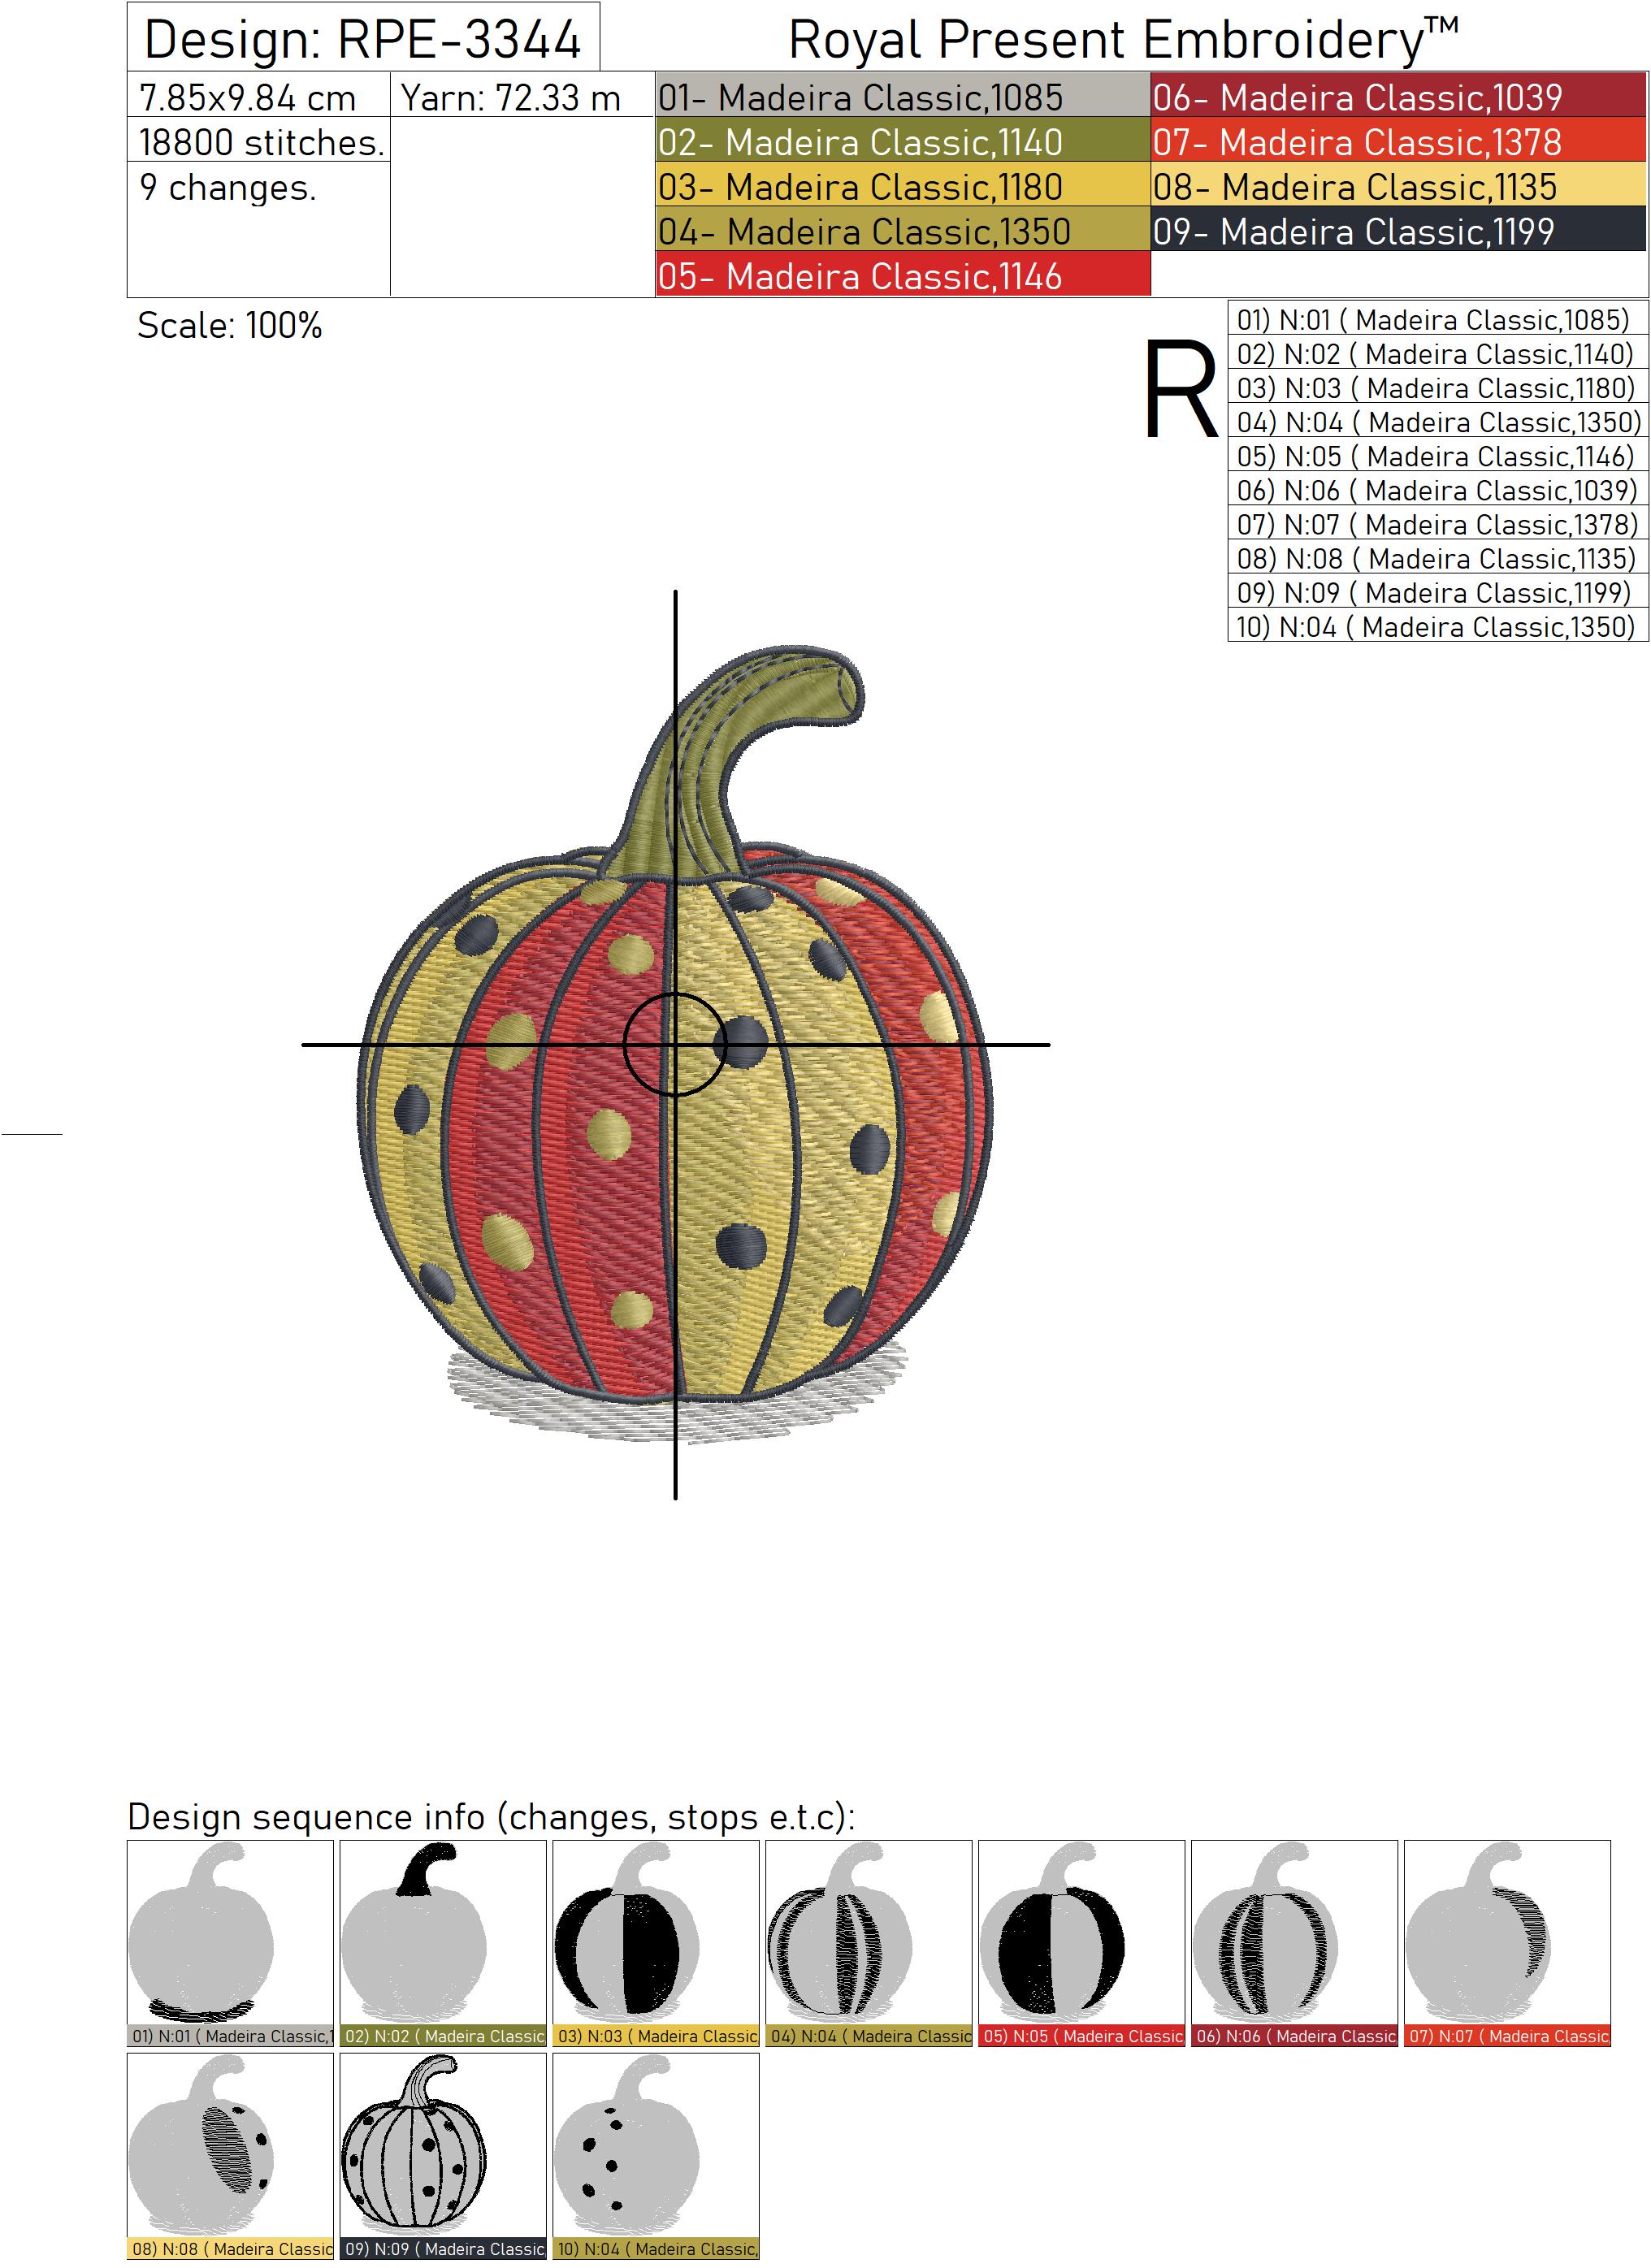
The original RPE-3344 color map uses nine Madeira Classic 40 colors and ten color blocks. Madeira 1350 is used twice. The swatches are approximate; use the thread numbers and a physical Madeira chart for final matching.
| Order | Color | Madeira Classic 40 | Stitched area | |
|---|---|---|---|---|
| 1 |
|
1085 — dark olive green | stem base and darkest green details | |
| 2 |
|
1140 — olive green | stem fill and green highlights | |
| 3 |
|
1180 — golden yellow | yellow pumpkin sections | |
| 4 |
|
1350 — antique gold | golden shading and selected dots | |
| 5 |
|
1146 — red | first red pumpkin sections | |
| 6 |
|
1039 — dark red | red shading | |
| 7 |
|
1378 — bright red-orange | bright red pumpkin sections | |
| 8 |
|
1135 — pale yellow | light dots and highlights | |
| 9 |
|
1199 — charcoal | outlines, ribs and dark dots | |
| 10 |
|
1350 — antique gold, repeated | final contrasting dots |
Stabilizer and Needle Guide
For stable cotton, linen or twill, use a medium tear-away stabilizer of approximately 50–70 gsm (1.5–2.1 oz/yd²). Suitable choices include Madeira Cotton Soft, OESD MediumWeight TearAway and Sulky Tear-Easy. Hoop the fabric and stabilizer together and add a basting box when your machine supports one.
For jersey, sweatshirts or other stretch fabrics, use a soft cut-away stabilizer of approximately 60–80 gsm (1.8–2.4 oz/yd²), such as Madeira Weblon Cut Away, OESD MediumWeight CutAway or Sulky Cut-Away Plus. Do not stretch the fabric while hooping.
For terry cloth or fabric with a visible pile, place a lightweight water-soluble film on top, for example Madeira Avalon Film, OESD StitcH2O or Sulky Solvy. The topping keeps the dots and dark outlines above the loops; it does not replace the backing underneath.
Use 40 wt machine embroidery thread with a sharp 75/11 embroidery needle as a starting point. Choose an 80/12 needle when the fabric and stabilizer combination is heavier.
Color and Placement Tips
The alternating red and golden sections create the design's rhythm, while the dark and pale dots provide contrast. For a softer harvest palette, replace the bright red shades with terracotta and rust but retain a strong light-dark difference between the dots and the pumpkin sections. For a modern monochrome version, use cream and charcoal sections with one muted olive accent in the stem.
Align the vertical center of the pumpkin with the fabric grain. This is especially useful on striped, checked or hemstitched linens, where even a small rotation is easy to see. Mark both axes before hooping and use the machine's center-position function before starting.
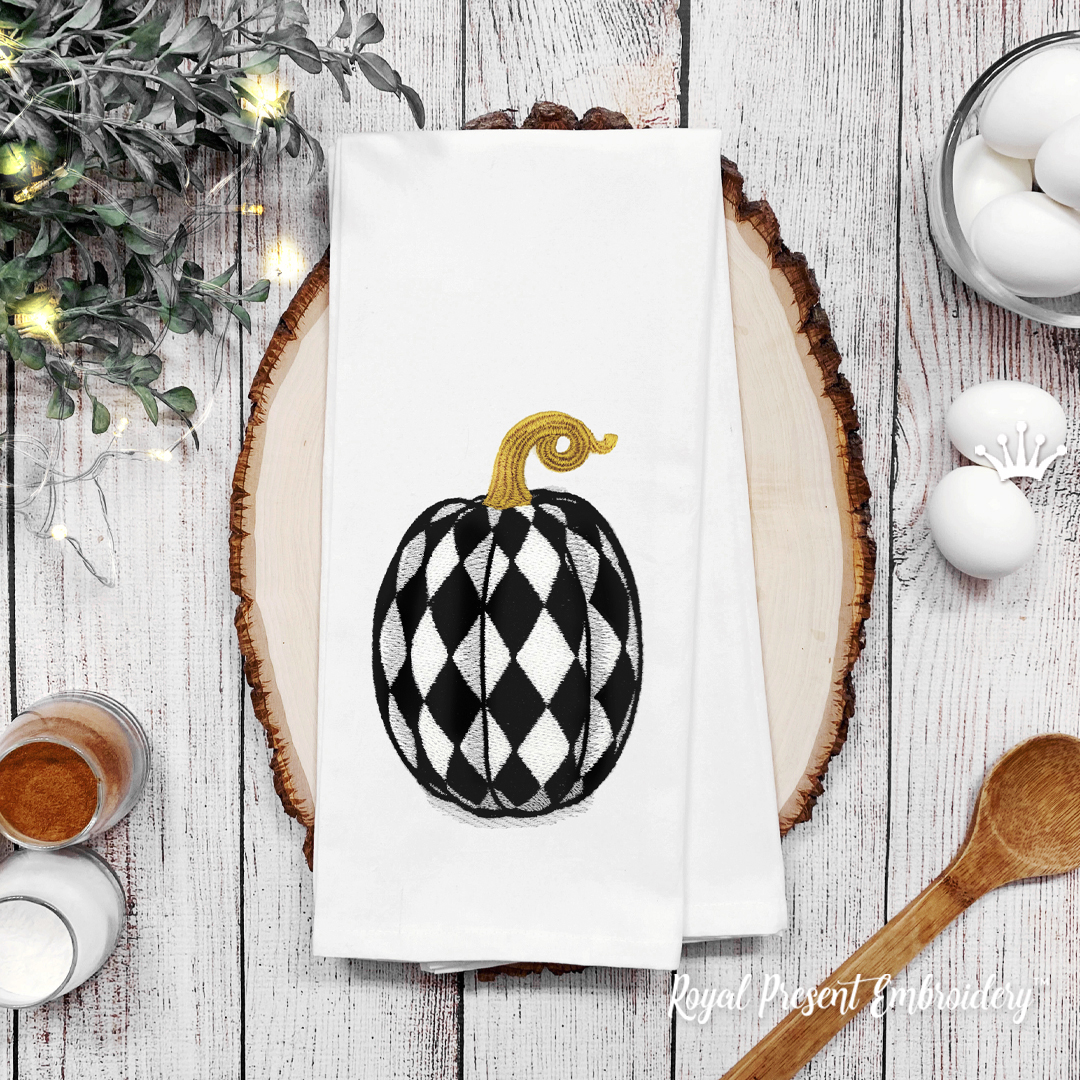
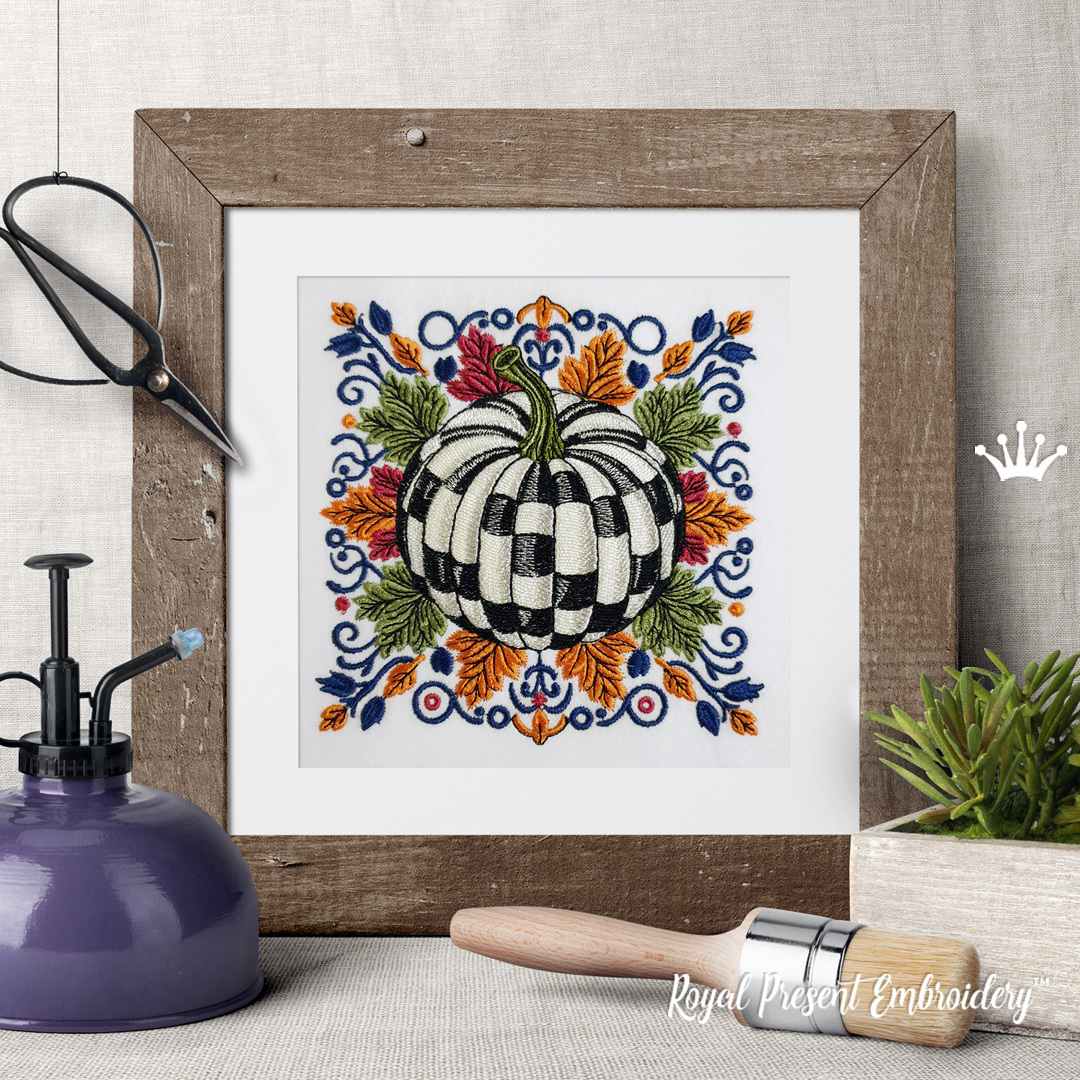
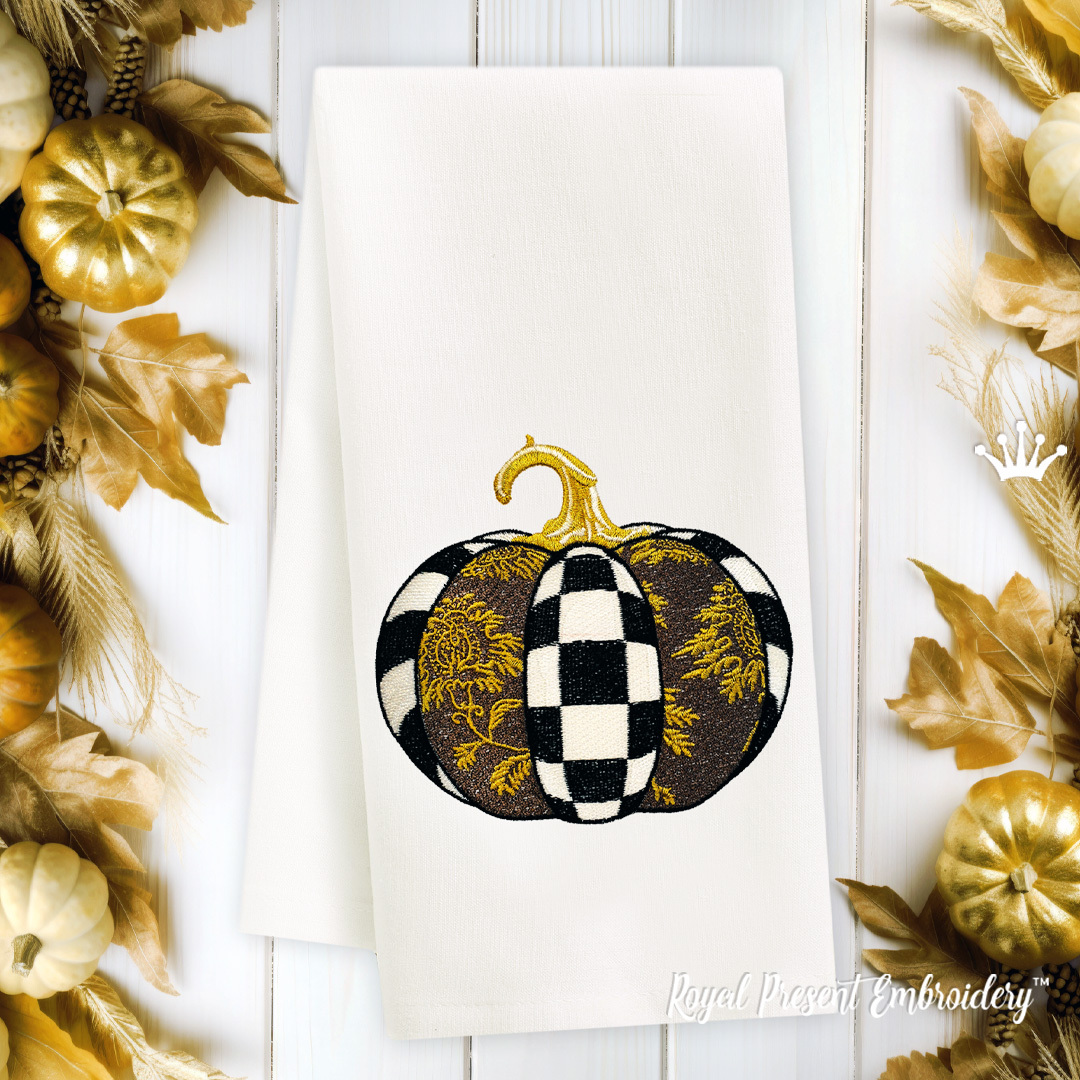
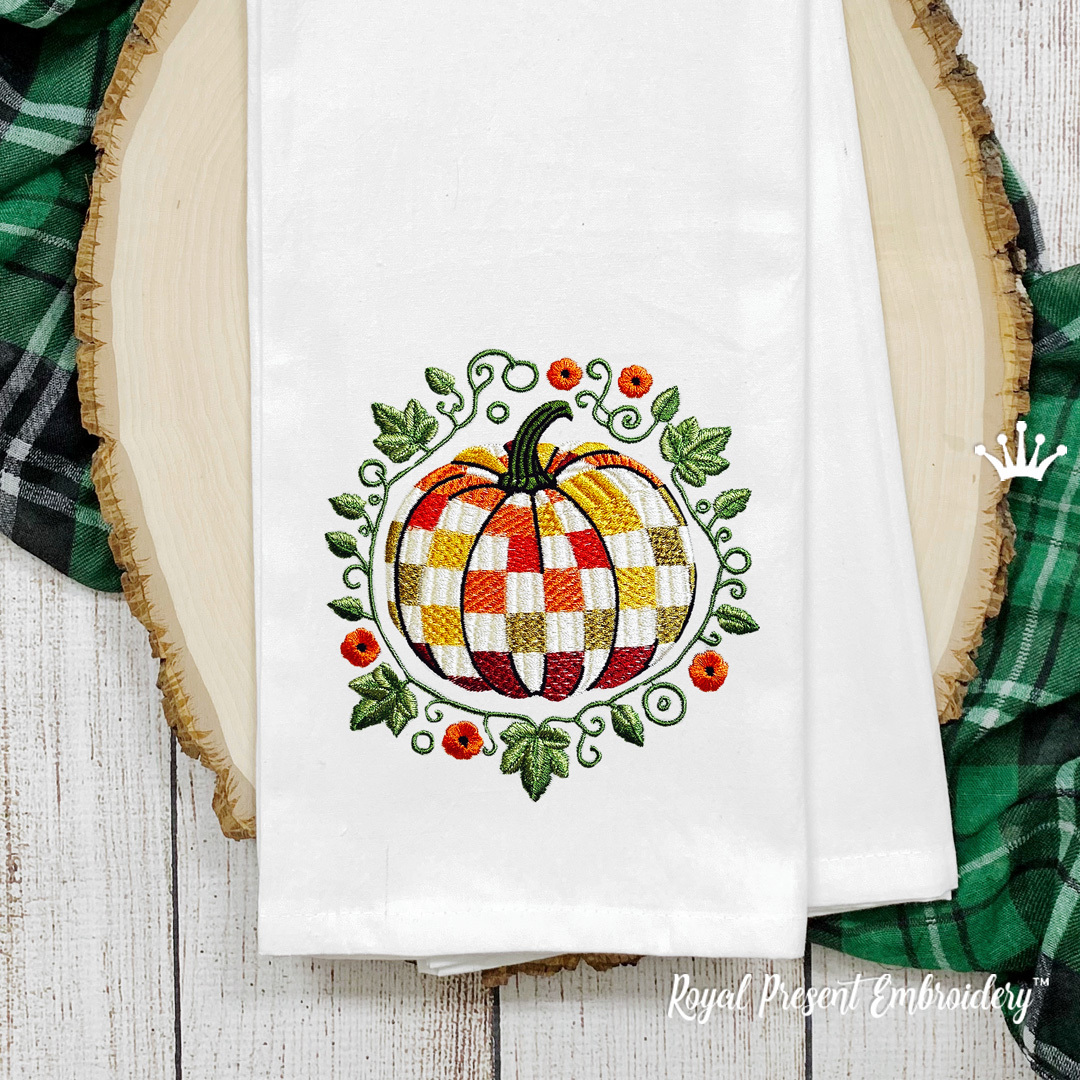
More Geometric Pumpkin Designs
|
|
|
|
Technical Embroidery Questions
How can I keep the polka dots round instead of oval?
Oval dots usually indicate that the fabric moved in one direction during the fill. Hoop the fabric and stabilizer together without stretching, keep the fabric grain square to the hoop and use a basting box. On flexible fabric, choose cut-away rather than tear-away support so the stitched circles remain stable after the hoop is removed.
Why can a narrow gap appear between a filled section and its outline?
Large fill areas push and pull the fabric as their stitch direction changes. Firm support, correct hooping and a suitable needle reduce this displacement. Avoid pulling the fabric drum-tight, because it can contract after unhooping and move the outline away from the fill. A complete test sew-out on the final fabric-and-stabilizer combination is the best way to confirm registration.
Should the bobbin thread match the top thread on reversible linens?
For a napkin or other item whose reverse is visible, use bobbin thread close to the dominant top-thread color and balance the tension on a test piece. Standard white or black embroidery bobbin thread is suitable when the reverse will not be displayed. Do not wind regular heavy sewing thread onto the bobbin unless your machine manufacturer approves it.
Can metallic thread replace the golden-yellow sections?
Use metallic thread selectively for dots, highlights or the stem rather than for every large filled section. Fit a metallic or topstitch needle recommended for the thread, use a thread stand or horizontal delivery method suited to the spool, and reduce the machine speed. Test the complete selected block before stitching the finished item because metallic threads vary greatly in construction.
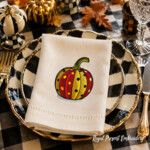
Pumpkin with polka dots machine embroidery design - 4 sizes
Oh this is so pretty. I am making towels for Fall. They will be gorgeous!!
Pumpkin with polka dots machine embroidery design - 4 sizes
Oh this is so pretty. I am making towels for Fall. They will be gorgeous!!

 Get Sign-In Link
 Login with Google
 Login with Facebook
 Login with Amazon
 Login with Paypal