Brother Luminaire 2 Innov-is XP2
Have you ever felt like you're at the mercy of your embroidery machine? Constantly fidgeting with knobs and buttons to get the settings right can be frustrating and time-consuming. Fortunately, the Bro...
By knowing the speed of your embroidery machine, you can find out how long it will take to embroider a design.
To use the embroidery calculator, click on the number of stitches in the product description.
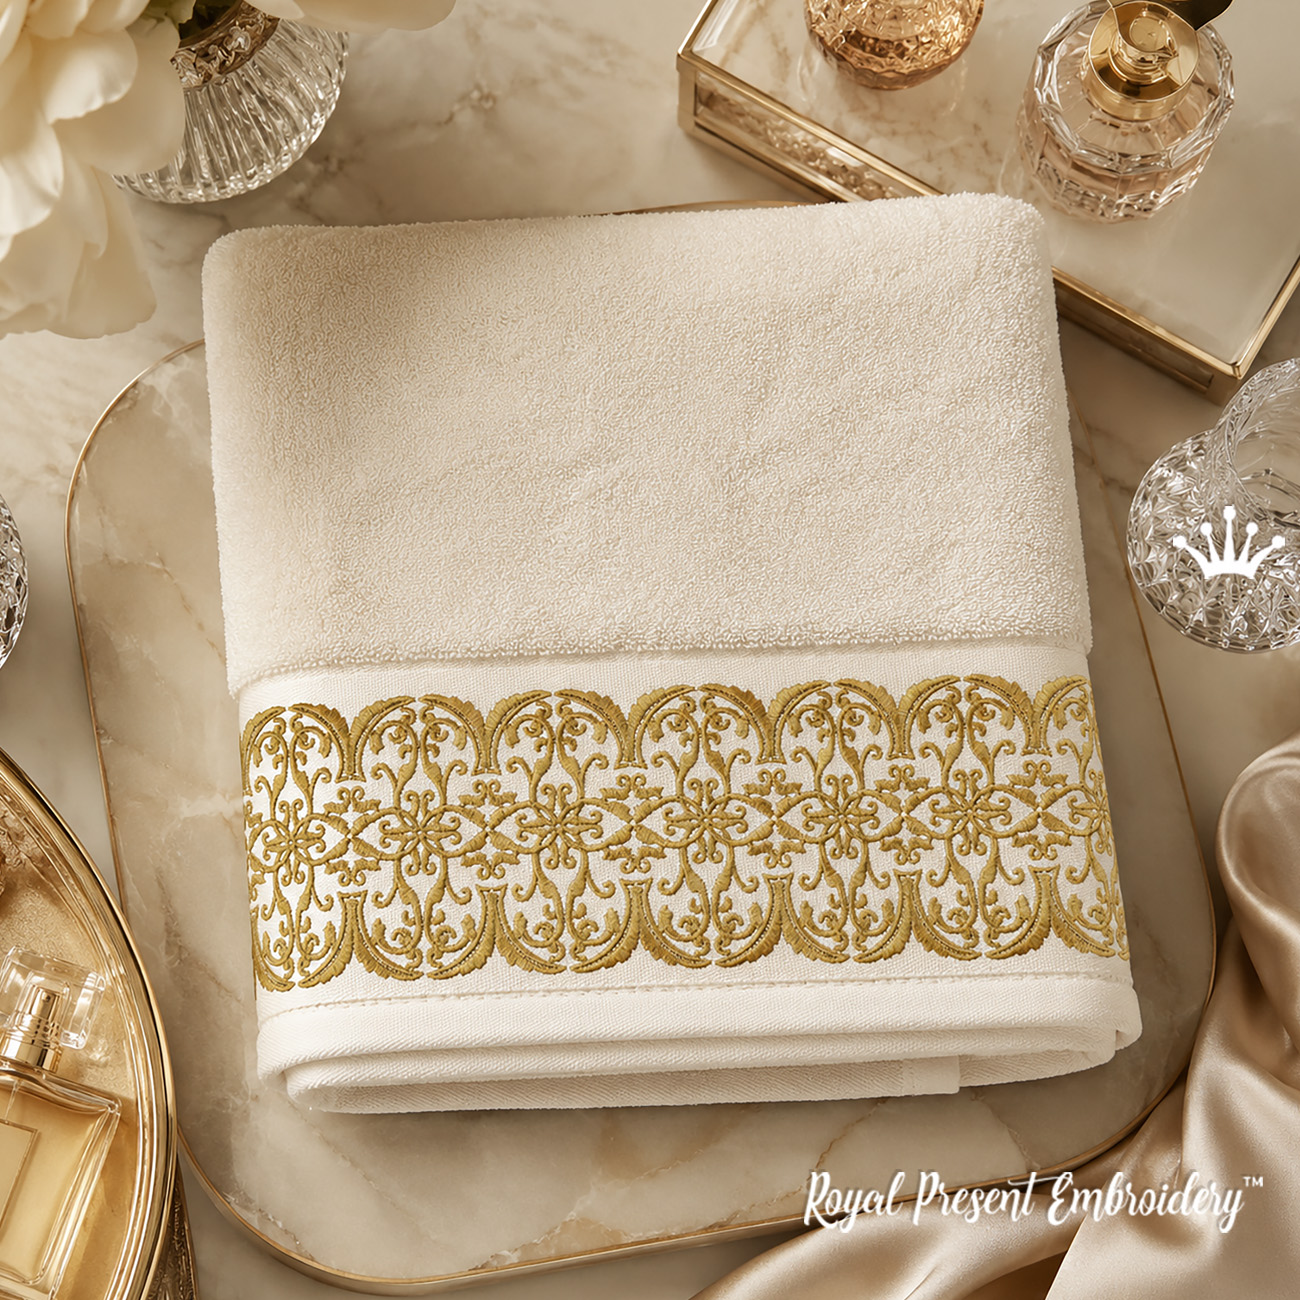
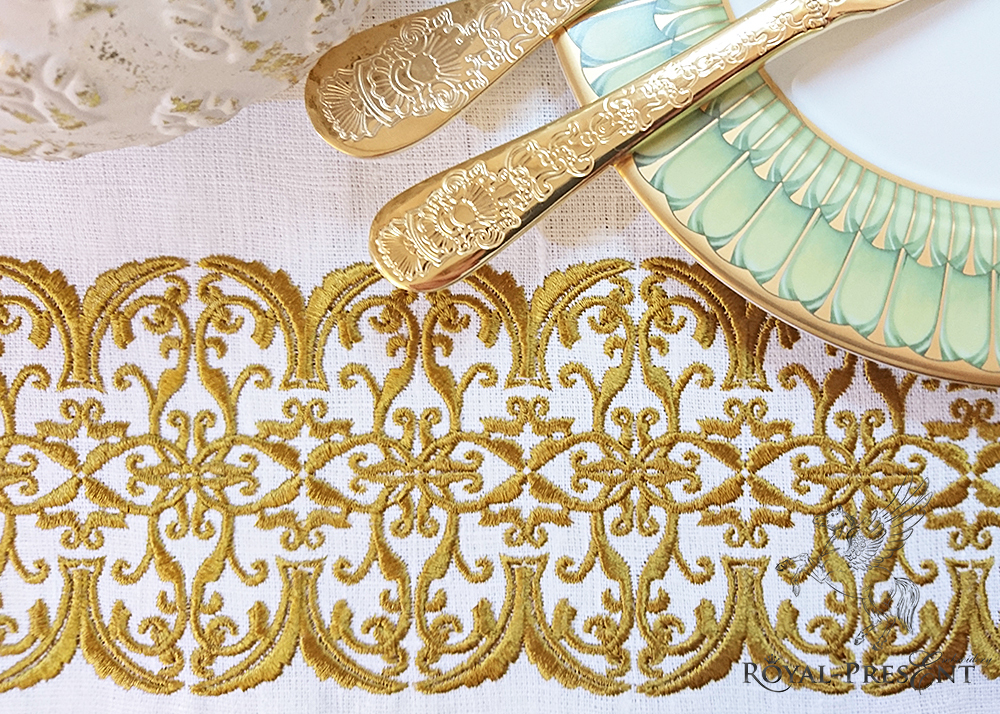
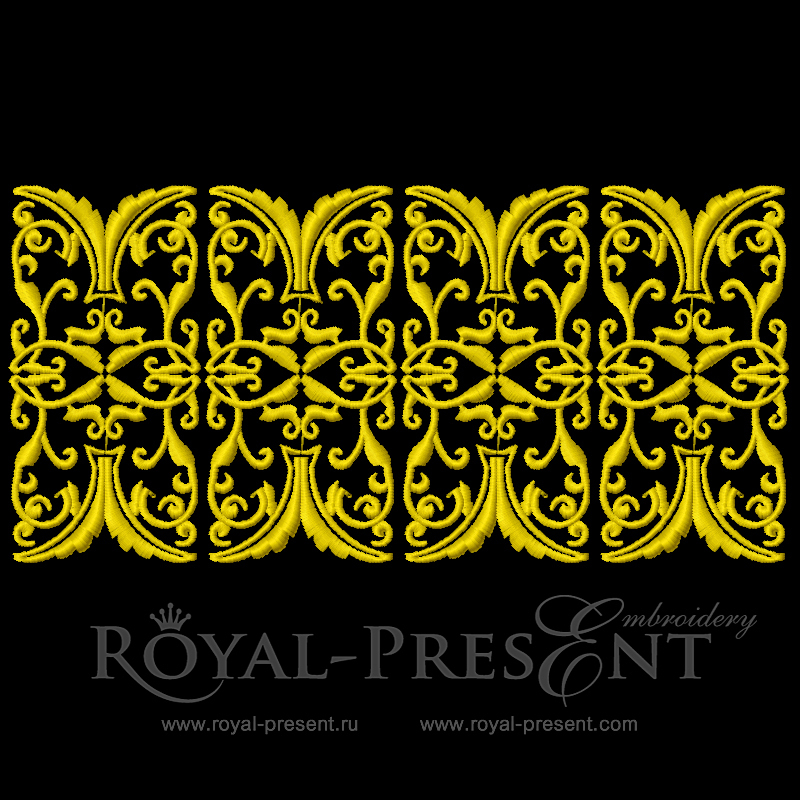
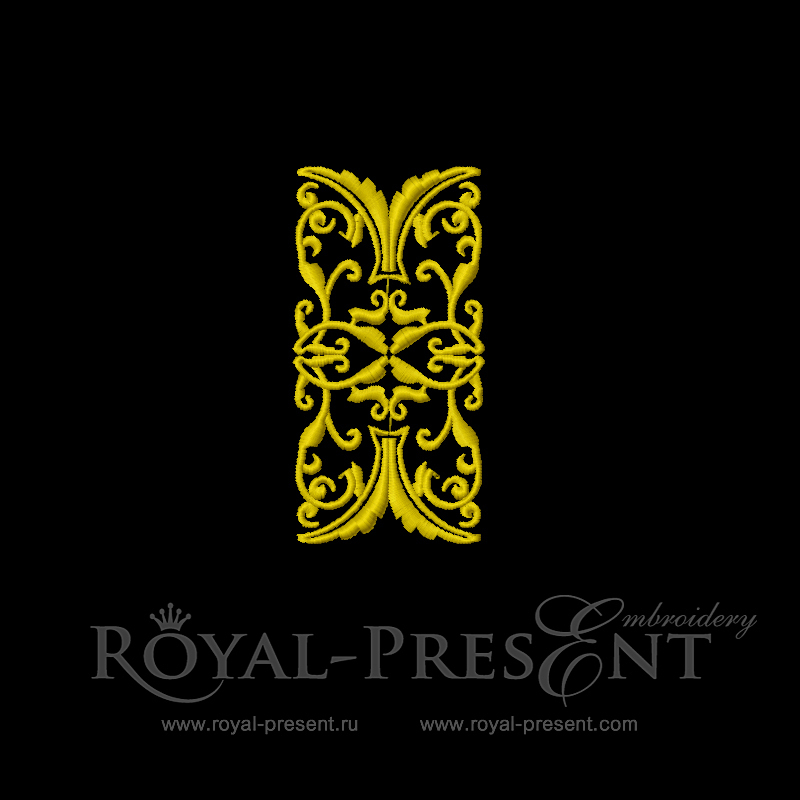
The Classic Gold Endless Border Repeat Machine Embroidery Design is a single decorative segment created for stitching as an individual ornament or repeating end to end as a continuous border. Place several copies closely together to create a border of almost any required length.
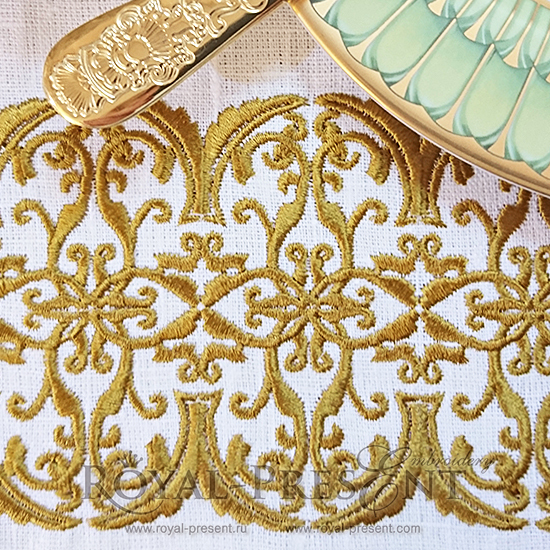
The one-color classic ornament is suitable for towels, tablecloths, table runners, curtains, bedding, garments, decorative cushions, bottle aprons and elegant textile accessories. Stitch it with gold rayon or polyester for the traditional appearance, or choose another thread color to coordinate the border with your project.
Important: This File Contains One Repeat Segment
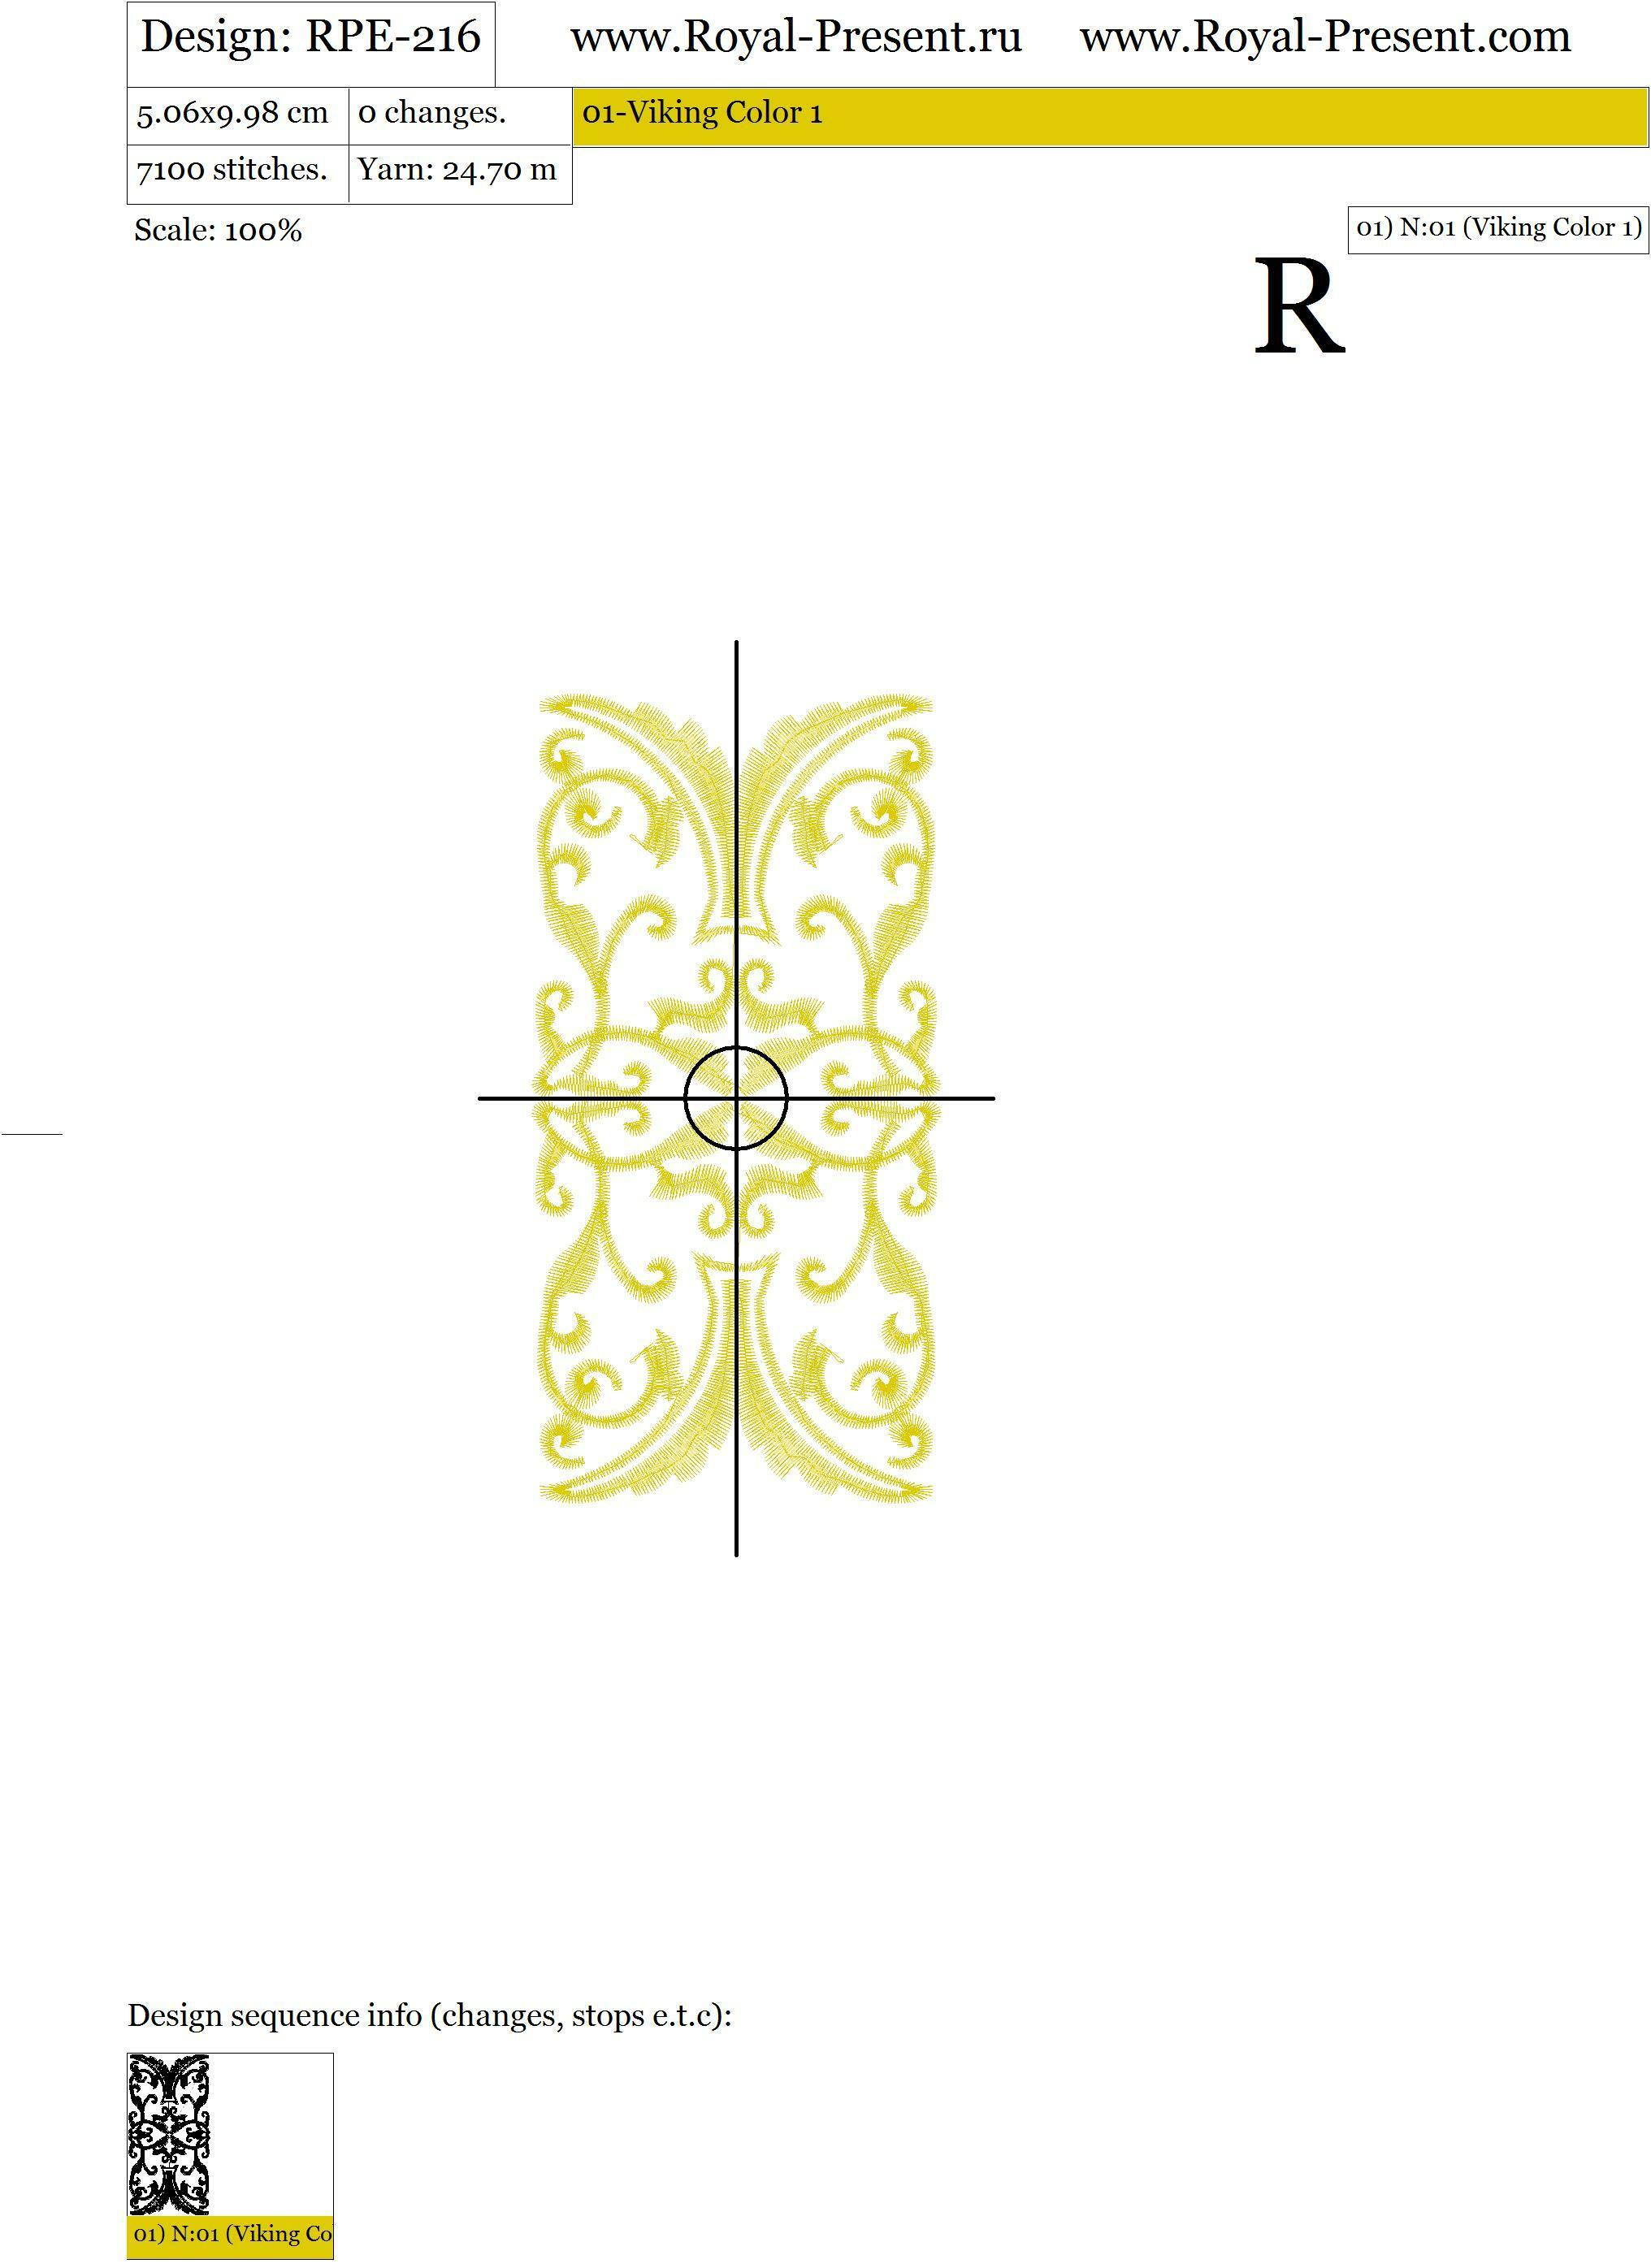
The download contains one embroidery repeat measuring 99x50 mm. It is not a ready-made long border consisting of multiple repeats.
To create a continuous border, embroider the same segment several times, positioning every new repeat directly beside the previous one. The final border length depends on the number of repeats:
The measurements above use the nominal 99 mm repeat length. Make a test border before embroidering the final item because the precise visual connection depends on alignment, hoop calibration and fabric stability.
Height 99 mm;
Width 50 mm;
Est. stitches 7 100;
Colours: 1;
Formats: .dst, .jef, .pec, .vip, .hus, .pes, .sew, .exp, .dat
The single segment fits a standard 100x100 mm (4x4") hoop. For repeating the pattern more conveniently, it also fits endless embroidery hoops with a working field of 100x180 mm (4x7") or 170x100 mm (6.7x4"), depending on the orientation supported by the machine.
An endless hoop, also called a border hoop or continuous embroidery hoop, is designed for repeating embroidery along a long piece of fabric. Its hinged or quick-release construction allows the embroiderer to release the fabric, slide it to the next position and secure it again while preserving the direction of the border.
This is useful for tablecloths, table runners, curtains, towels, bedding and garments where an ordinary hoop would require the fabric to be completely removed and rehooped after every repeat.
Read the complete guide to available sizes, brands and positioning methods in Endless Hoops for Embroidery Machines: Pfaff, Husqvarna and Other Brands.
Endless hoops are optional accessories rather than standard hoops supplied with every machine. Compatibility depends on the machine model, hoop attachment and firmware. Examples listed in the Royal Present guide include the following.
The 99x50 mm repeat fits inside this embroidery field. The guide lists compatibility with:
The design also fits a 170x100 mm border hoop. Husqvarna Viking offers endless-hoop accessories for selected Designer and compatible embroidery-machine series. Check the accessory or hoop list for the exact model before purchasing a hoop.
More information about available Husqvarna embroidery fields can be found in Husqvarna Hoop Sizes and Embroidery Formats.
The Brother SABF6000D Border Frame provides a field large enough for this repeat. Models listed in the Royal Present guide include:
Always confirm the accessory code for the exact machine. Machines within the same brand may use different hoop connections even when their embroidery fields are similar.
Leave extra fabric and stabilizer at both ends of the planned border. This gives the endless hoop enough material to grip during the first and final repeats.
Do not rely only on the edge of the previous embroidery. A centerline and repeat-center marks provide more reliable positioning. Test the nominal 99 mm advance on scrap fabric and make a small correction if required by the file coordinates or the calibration of your machine.
Yes. The repeat fits a regular 100x100 mm (4x4") hoop. After stitching the first segment, remove the fabric, mark the next center and rehoop it. Use a printed template to keep every repeat on the same line.
For greater accuracy with ordinary hoops:
Measure the finished area before marking the fabric. Divide the planned border length by 99 mm to estimate the number of repeats.
For example, a 500 mm border can accommodate approximately five repeats. Center the combined border so that the unused space is divided equally between both ends. Do not begin at one edge before calculating the complete layout.
If the border must turn a corner, use a coordinating corner design rather than forcing straight repeats around the angle.
The continuous border works best on stable woven fabrics:
Use a continuous strip of light- or medium-weight tear-away stabilizer for stable cotton and linen. A fusible or adhesive tear-away stabilizer can help keep the fabric and backing together while they are moved through an endless hoop.
For curtains, soft fabric or projects that will be washed frequently, use a lightweight cut-away stabilizer. On terry towels, place tear-away or cut-away backing underneath and a water-soluble topping over the pile.
For the traditional gold appearance, use 40-weight gold rayon or polyester embroidery thread with a 75/11 embroidery needle. Polyester is preferable for towels, table linens and frequently washed items.
Metallic gold thread can create a brighter ornamental finish. When using metallic thread:
Because the design contains only one color, it can also be stitched in silver, white, navy, burgundy, black or another shade that coordinates with the fabric.
Explore more repeatable patterns in the Borders Machine Embroidery Designs collection and additional traditional motifs in Classic Ornaments.
This product contains one repeat segment measuring 99x50 mm. Stitch the same file several times, positioning the repeats end to end, to create a continuous border of the required length.
Yes. The single 99x50 mm segment fits a standard 100x100 mm (4x4") embroidery field.
The repeat fits endless hoops with working fields of 100x180 mm (4x7") or 170x100 mm (6.7x4"). It can also be stitched in larger endless or border hoops if the machine supports the file orientation.
No. An endless hoop makes fabric repositioning faster, but the repeat can be stitched in a regular 100x100 mm (4x4") hoop. Mark every repeat center and use a full-size template for accurate rehooping.
The nominal repeat length is 99 mm. Mark centers at 99 mm intervals along a straight guideline, then verify the spacing on a test strip. Small corrections may be necessary depending on file coordinates and machine calibration.
Draw one centerline for the complete border and mark every repeat center before embroidery. Align the line with the endless-hoop grid every time the fabric is moved, and use the machine’s trace or positioning function before stitching.
A gap usually means that the fabric was advanced too far, rotated in the hoop or shifted during clamping. Check the repeat-center marks, secure the stabilizer to the fabric and make a test border before stitching the final item.
Overlap occurs when the next center is positioned too close to the previous repeat. Return to the marked centerline and use the tested repeat advance rather than aligning only by eye.
Yes. If the machine has a larger embroidery field, several copies can be aligned in software and saved as one combined file. Check the total dimensions, spacing and stitch sequence, and make a test stitch before embroidering the final project.
No. The file is a one-color design and can be stitched with rayon, polyester or metallic embroidery thread in any color. Metallic thread requires a metallic needle and a lower machine speed.
Yes. You may sell a limited number of finished embroidered products. The digital embroidery file may not be sold, shared, exchanged or included in another digital collection.
Yes. Stitch at least two or three connected repeats on the same fabric and stabilizer intended for the final project. This reveals spacing, rotation, fabric movement and thread-tension problems before you begin a long border.
Machine embroidery design by Ludmila Konovalova, Royal Present Embroidery.
Classic Gold Endless Border Repeat Machine Embroidery Design
I really liked how it stitched up. It was easy to stitch several together to form a continuous bordet
Have you ever felt like you're at the mercy of your embroidery machine? Constantly fidgeting with knobs and buttons to get the settings right can be frustrating and time-consuming. Fortunately, the Bro...
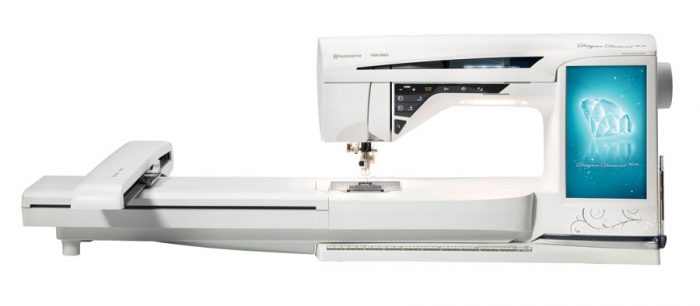
Formats: VP3/VIP/HUS/DST/SHV Before we actually speak about Husqvarna hoop sizes and formats for embroidery, let’s speak about the topic in general. Bigger is not always better Experience...
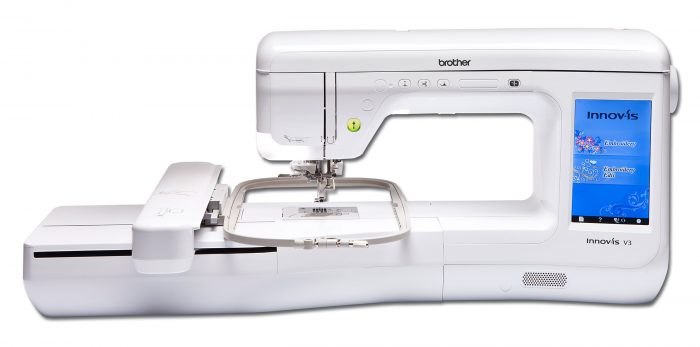
Formats: PES Embroidery enthusiasts understand the significance of having the right tools and equipment to bring their creative visions to life. The hoop is crucial in ensuring precise and flawless em...
Step into a world of artistic possibilities with the Brother PE800, a masterpiece of an embroidery machine that brings your imagination to life with every stitch. Whether you are an accomplished embroi...
In the bustling realm of modern sewing machines, one name stands unrivalled in its pursuit of excellence: the Brother Innov-is V3. Crafted with ingenuity and an unwavering commitment to precision, t...
This article serves solely for informational purposes; our online store specializes in machine embroidery designs If you're an embroidery enthusiast or a creative crafter, you're always searching for...

The 10 Best Embroidery Machines for Custom Designs in 2023 Embroidery, an age-old art, has witnessed remarkable technological advances, rendering it easier than ever to conceive breathtaking custom de...
A 5×7 embroidery hoop commonly provides a maximum embroidery field of 130 × 180 mm, which equals approximately 5.12 × 7.09 inches. The name 5×7 is a rounded commercial designation—not the exact metric-...

 Get Sign-In Link
 Login with Google
 Login with Facebook
 Login with Amazon
 Login with Paypal