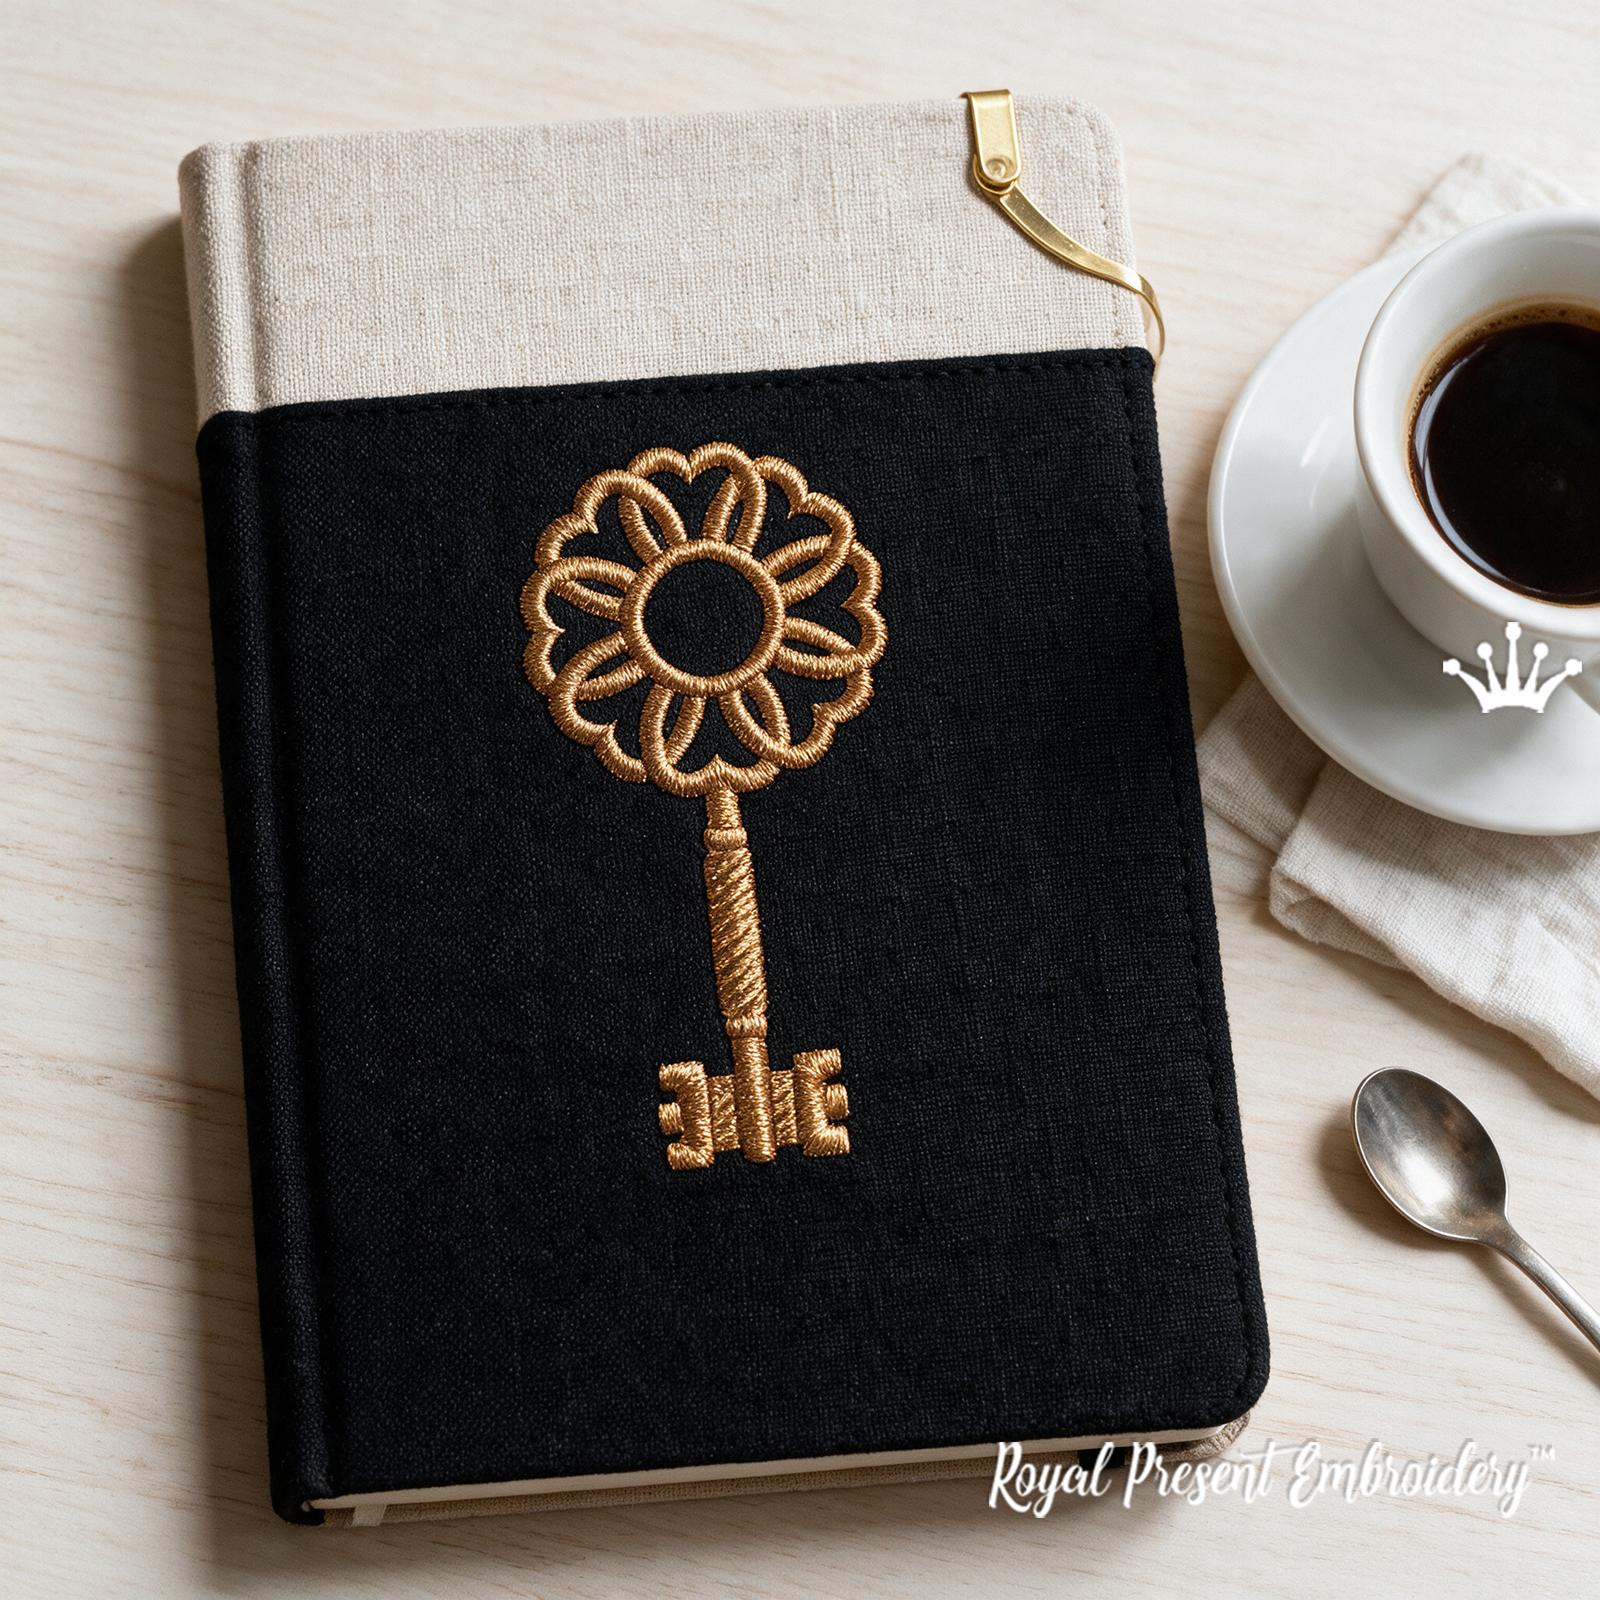


Bronze Key with Floral Rosette Machine Embroidery Design is a two-size digital set. Its bow is a round openwork floral rosette with a central opening, while the long shaft finishes with a shaped key bit.
The 4x4 version gives a narrow vertical accent on a napkin, cuff, pocket or book cover. The 5x7 version has enough presence for a tote front, jacket panel or framed textile piece. This listing supplies digital files for an embroidery machine, not a finished item.
Design sizes, stitches and hoops
| Version | Size and stitches | Required hoop |
|---|---|---|
| Small | Size: 49.6x99.5 mm (1.95x3.92 "), Stitches: 4836 | 100x100 mm (4x4") |
| Large | Size: 89.8x179.5 mm (3.54x7.07 "), Stitches: 13193 | 130x180 mm (5x7") |
Formats: .dst, .jef, .pec, .vip, .hus, .pes, .sew, .exp, .dat, .vp3, .xxx
Design details
| Type | Digital machine embroidery design set |
| Motif | Bronze key with a circular floral rosette and shaped key bit |
| Size options | 2 ready-to-stitch versions |
| Smallest hoop | 100x100 mm (4x4") |
| Delivery | A ZIP download link is available immediately after payment; the files also remain in your account |
Madeira Classic 40 thread chart
| Motif | Thread colour | Madeira code | Use |
|---|---|---|---|
| Key | 1065 — Gold | One warm bronze-gold shade for the complete motif |
The coloured square is a screen reference only. Match the physical thread by Madeira number 1065 from the supplied colour chart, not by a monitor or a machine-screen preview.
Placement ideas
The vertical key looks strongest when it has clear space above and below it: centre it on an unmade tote panel, run it along a narrow table-linen insert, or set it on a jacket front away from bulky seams and pockets. Print the selected size at 100% before marking. The rosette centre and the vertical shaft give two reliable registration points for a straight result.
Questions and answers
Can I make a left and right key pair for jacket fronts or a pouch?
Yes, if your machine or embroidery software has a mirror command. This key contains no lettering, so mirroring only reverses the direction of the bit. Decide whether the two bits should point inward or outward, then print both versions at 100%. Place the paper templates first, mark the rosette centre and the shaft axis, and align those marks to the hoop centre before stitching.
How should I embroider the long key on a canvas tote?
Embroider the front panel before sewing the tote. Use a medium cut-away backing such as Gunold Totally Stable 2085 and attach it to the wrong side with a light coat of Gunold KK100 temporary spray adhesive, applied away from the machine. Hoop the canvas and backing together evenly, with the shaft aligned to the hoop’s vertical centreline. After embroidery, trim the backing only when the panel has been assembled, leaving about 1/2 in (12 mm) around the stitching.
Can I stitch this key on faux leather or cork?
Yes. Hoop only a firm cut-away stabilizer, such as Madeira Cut Away Super Strong, then attach the faux leather or cork to it with a light mist of Gunold KK100. This prevents permanent hoop marks and avoids punching holes around the material’s edge. Test first on a spare piece from the same sheet, because faux leather coatings vary in stretch and needle penetration.
Why does the large key require a 5x7 hoop?
The large version is engineered for a 130x180 mm (5x7") hoop; its length cannot fit a 4x4 hoop. Use the 5x7 file only when your machine accepts that hoop size, or choose a larger compatible hoop. The small file is the correct choice for a 100x100 mm (4x4") hoop.
Can this key be made in another size?
Order a professional recalculation through the design resize service. Enlarging or reducing an embroidery file yourself changes stitch density, underlay and small open spaces. If you alter the file independently, responsibility for the stitch-out result remains with you.

 Get Sign-In Link
 Login with Google
 Login with Facebook
 Login with Amazon
 Login with Paypal